Thursday, November 24, 2011

Introducing: Shoes by Summery Creations, and Other Awesome Stuff

Hello folks!

I have a couple of awesome things to share- First of all, this has been a stellar month of sales for me, even before the craziness of after Thanksgiving shopping.  Some of my purses and companion cubes are now making their way across the pond to the UK and to various places all over these great United States.  Its a small jump up, but great none the less.

Secondly, given the pick up in sales, I decided my little business could use an upgrade in the sewing department.  I spent a couple of days researching new sewing machines and deciding between getting something that could embroider, or get a nicer brand computerized machine.  I ended up going with the nicer brand, and bought a new Janome DC2011.  Pretty much anything is a step up from my Singer Simple, with its 18 different stitches, but this baby is really nice, comparatively.  I haven't gotten to play around with it a whole lot, but what I have done has been fantastic.

And lastly- I am going to start selling custom ballet flats in my store!  They can be made to match almost any one of my purses (there may be an exception or two, just ask!) and in three different styles: plain, with a mary jane type strap or with a wider strap.  I've also included other choices in the listing itself.  The basic ballet flats make great shoes for around the house or office, as well as light outdoor wear!  I've been wearing mine a lot since I finished them.  Yesterday I even wore them around the mall, and got a couple of compliments from total strangers.  It was amazing to see their faces when I told them that I had made them.

Besides the ballet style flats, I'm also going to offer the option of having a cork sole add on, for a more hard wearing outside shoe.  The cork has been purchased, as well as the cement for soling shoes, so its just a little waiting until it arrives.  I can also make comfy house slippers with snuggly fleece lining!

It won't be available to purchase until next week, but I also have another pattern with a keyhole type closure, I just haven't gotten to test it out yet.
Newest set of shoes- These have canvas soles and are ready for the cork sole add on!

If you're interested, you can see the shoe listing here!

Saturday, November 19, 2011

The Big Sale Weekend!

Hello folks!

I know this coming week is a big one for holiday shopping and I just wanted to have a little post here on my blog about the deals I’ll be offering.  On Black Friday itself, I will be offering free shipping on everything in my shop!  For Saturday –Monday, the deal will switch over to a 20% off coupon, and select items will go on sale (and you can still use the 20% off!).  The sale items will change from day to day, so keep your eyes peeled if there’s something specific you’re looking for.  Just remember that many of my bags are one of a kind, so if you miss out, I may not be making that one again (Although I am open to custom requests).  If you want in on the deals, make sure to like my store on facebook (here) or follow me on twitter (here) to get the coupon codes.

Milly's getting ready for the big sale!  She's hanging on to all of her favorites.
As a side note to anyone who is thinking of buying- I will be away from my studio due to the holiday, so any purchases made between Wednesday (the 23rd) and Sunday (the 26th) will be mailed on Monday (the 27th).   If you are looking to get a companion cube, those will take time to make, since I do not keep a stock of them made up (just the materials).  Order early if you need it time for Christmas because I will only have a limited number of them available during the deals, due to the work time they require.

Another note… more of hint really… I will be starting to sell custom made shoes and slippers in my store as well!  I've been working hard on getting them ready to release.  They should be made available by black Friday,  so if you want a pair of flats to match your new Summery Creations bag, please keep me in mind!  There will be more about the shoes in a later post, so keep your eyes peeled!

Wednesday, November 16, 2011

Lingering Projects

Do you guys ever start a project that you are really excited about, only to encounter a snag, and then stop working on it?  Or maybe its not even a snag in the project, maybe you just had to stop for a while, and never got back to it?

Maybe I'm just easily distracted, but I do this all of the time.  In fact, I'm doing it right now.  I started a purse as a gift 2 weeks ago.  Everything is cut out for it, the outside of the bag is constructed, and it looks pretty good.  I designed it especially for the giftee.  The designing and constructing only took me about 2 hours.  Then I got distracted, and I haven't finished it yet. This is a consistant thing for me.  In fact, I was cleaning up my sewing area and found 2-3 more unfinished projects, waiting in the wings.
Half Finished Bag

Every once in a while I have to 'encourage' myself to finish these projects.  Today was one of those days.  I had an almost finished tote bag sitting on a shelf.  In fact, it was only a couple stitches away from being done.  This tote was one of those projects that I started and hit a snag on.  I was attaching the inside of the bag when things just weren't lining up right, so I took a break from it... a 3 week break.  I finally made myself go back to that tote this morning before I let myself make another pair of shoes (which I really want to do).  I fixed the problem and had the tote finished in about 30 minutes.  It was a very quick finish, and the final product is fantastic!  I can't believe how long I put it off, and it has encouraged me to get back to work on other lingering projects, right after I make those new shoes!

Fairy Tales Tote Bag-  Now for sale in my Etsy Shop!
So, when you hit a snag or have unfinished projects piling up, what do you do to kickstart them again?

Monday, November 14, 2011

My New Shoeventure!

Hello folks!

As much as I love making bags, and I do, I also like to branch out.  I can never stick to just one thing for very long.  I get bored and I have to do something to break the monotony, or get out of a creative rut.

I also have funny sized/shaped feet.  About a year ago, I found some really cute black strappy flats at JC Penney, and I got them on sale.  They fit great, which is hard to find.  Fast-forward to a couple of weeks ago... My cute shoes are now more of a smelly foot covering than a shoe.  I've worn them consistently since I bought them.  I started looking for good replacement shoes, and lets just say that I've had less than stellar options.  The biggest issue is that I want flats for work, since I have arthritis in one of my big toes due an accident a couple of years ago.  Cute adult sized flats are hard to find, especially ones that fit my short, wide tooties.  The one pair I found at Payless that I thought might be worthy turned out to be a bust, size wise.  This shoe problem has been weighing on my mind for a while.

Fast-forward again to about 4 days ago.  I was surfing Etsy and thinking about Christmas presents.  I couldn't do purses/bags again for most my list since that's what they got last year (I know, I know, you can never have too many purses, but I don't want to become that person who always gets you the same thing every year; I like variety!).  I wanted to something different.  Since I like to multitask and think about lots of stuff at once, the niggly shoe problem was also floating around my mind.  So, I decided to see what was around in terms of shoes on Etsy.  That lead me to some patterns for making your own cloth slippers/shoes.  I did some research on the patterns and soling material and settled on a set of patterns that I just adored.  Simple, functional, and of course I can make them with whatever fabric I want.  I purchased a couple of patterns from Shoeology as well as some soling material.

Frankenslippers.
The patterns arrived in my inbox with in a couple of hours and I got to work on a test slipper.   These ugly brutes were the result.  I made them with some scrap fabric and didn't worry about making them seamless.  They are soled with dark grey felt which I added some hot glue dots to so I don't fall on my butt in the kitchen.   I've decided to call them frankenslippers, because they are cobbled together, have open seams, and I kind of walk like Frankenstein's monster trying to keep the right one on since the right one is larger than the left.


My second attempt at slipper making yielded this shiny house shoe:
Golden House Slippers

These are going to be a gift.  They are are seamless, which means they already look tons better than their predecessors.  They aren't perfect though, the one that's hiding underneath had some issues with attaching the sole lining and appears a little warped.  When its being worn its not noticeable at all, and doesn't bunch so its still very fluffy and comfortable. I figured out the problem, and solved it before stitching up the second, very nice one.  I'll probably redo the ugly one before gifting it.


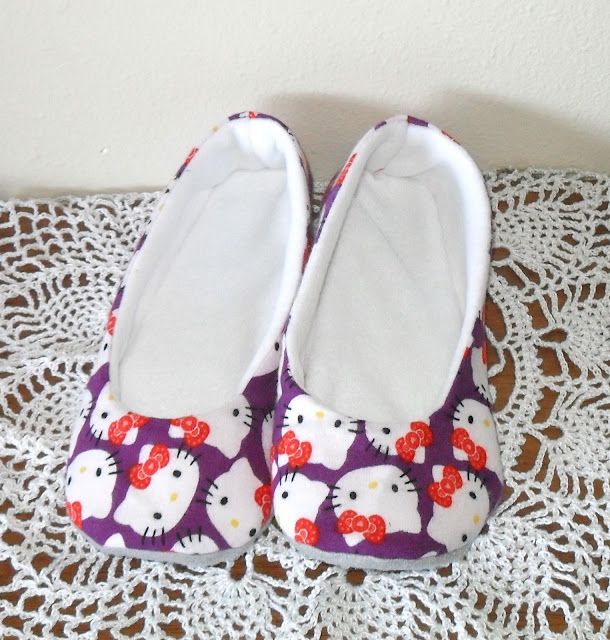
These third slippers are nearly perfect!  I love them in all of their kawaii goodness:
Hello Slippers
There's one little bunch in the back of the left slipper's heel (right of the picture), but other than that, I think they're pretty good.  These little cuties also have a matching drawstring bag to be gifted in.

And now, my crowning achievement, the leap into shoes!  These things can be worn outside, with relative comfort and only a little ow-ow-I-stepped-on-a-rock (they are soft soled shoes).

Aren't they cute?  I love how they turned out.  I even modified the pattern for the natural canvas toe accent.  The shoes are made the same way as the slippers, but with a vinyl sole and foam/fleece insoles.  They are really comfy for bumming around the house AND running outside to get the mail.  I shall have to give them a good outside testing and take a walk in them.

I'm really considering adding some shoes and/or slippers to my Etsy shop.  I think it would be neat to be able to buy a bag and flats to match.  What do you guys think?

Friday, November 4, 2011

Treasury Extraordinary!

I'm still in the process of getting back in the groove, and yesterday I finally got back to my Etsy teams.  Etsy Entrepreneurs always has always been a source of fun and exciting team challenges.  Yesterday was no exception.  I saw that they were having a treasury challenge, so I decided to try my hand at it.  I'm not usually a treasury maker, but I thought this was one of my better ones.  I wanted to share it here in my blog!

Go, check it out!  Click, comment, ect.  I would love to win this challenge! (clicking the title will take you to the treasury itself, on Etsy)

Thursday, November 3, 2011

Mildred's Make Over

I bought a ruffler foot about a month ago, and finally
got around to using it.
I've been busy this week so far.  So far I've finished a custom order backpack, finished a dress, made a new bag design for the left over dress linen and finished that bag, figured out how to use my ruffler foot, started another patchwork bag, started another companion cube and solved Milly's clashy color problem! 


As Raye pointed out in my last post, Mildred's flashy purple wires are great and all, but they cause some issues too.  Milly is a fun, fabulous piece of furniture, but as a photo prop she was falling short.  I still love her shape and usefulness for showing scale.  So, I went to my closet to see if I had something that would work as a cover before I tried to make something.  I found the perfect solution, just hanging out in my closet: A white sweater dress!   This dress was perfect, as it had a cowl that covered her upper chest and neck part, and it was fitted, so I only had pin it a little bit.   Here are a couple of examples of Mildred's new work:
 
       And my new orange bag!  Like it?  Go check it out in my shop too!
The ruffled zipper pouch comes with it.
 
  
You can find this plaid tote in my shop too!

And of course, the Green Momotaro Tote.

Monday, October 31, 2011

Back to the Groove

I don't have anything too interesting to post right now, other than to say that I am finally done with the assignment from places best not mentioned on Halloween.  That means I will be home, all day for at least the next week, recouping.  That also means I will have tons of time to get stuff done!  I'm really looking forward to getting back to my sewing machine.  I'm not so excited for the loss of income, but the district didn't have any open spots for me to fill.  On the other hand, with time to spend on my Etsy shop and networking and such, maybe I can get my sales off the ground.  That would be nice... and I'm sure my husband would enjoy opening up some of the space that is currently occupied by my inventory.

I've already started on my to do list.  On Saturday, I took my new wire dress frame outside to re photo some of my bags.  I really like how they turned out.  I think they look much better on a suedo human than just sitting on the shelf or hanging on a hook on the wall.  She is of course a little smaller than normal people sized, but its a good approximation.
I named her Mildred!
What do you folks think about using a dress frame/mannequin vs. hang on the wall or sitting on a shelf?  If you were a buyer, which would entice you more?
   

Sunday, October 2, 2011

I've Got the Universe in my Pocket

Hello folks, long time no write.

As I said in my last post, school started for us and completely threw off my craft groove, and I was neck deep in naps and tests to grade.  I was further put off when I had to switch assignments.  I'm a long term sub currently subbing for teachers on family leave.  I started the year as a chemistry teacher, and now I'm teaching history with a group of the most frustrating sophomores you've ever seen in your life.  I want to like them, but they make it so hard.  Anyways, I'm sure this is all very interesting, but what brings me back to my blog, you might be asking...

First full printing my NASA space fabric!
Well, a couple of weeks ago I was looking through NASA's photo archives, while thinking about entering spoonflower fabric contests (more about them later) when I was hit with a cool idea.  Wouldn't it be awesome to have fabric made with some of these photos?  Why, yes, yes it would, I thought.  So, I looked into NASA's photo usage rules and they are basically free for alls, as NASA doesn't keep copyrights on any of their pictures.  I was ecstatic, and I started searching for interesting photos that were large enough to be useful.   It only took me a couple of hours to get my idea shaped and set up.  The next 2 weeks were spent waiting on proofs and the final printing of my first yard of fabric.  I love love love how they turned out!

I had the idea to make the pictures into zipper pouches, and included both a front and a back for them.  I'm posting here today to let everyone know that the first batch of Universe in my Pocket pouches are done and up for sale on Etsy!  Here are few of them up close-

M81 Galaxy Pouch

M82 Galaxy Pouch

Butterfly Nebula Pouch


Want to see the whole collection?  Check out the Universe Pouches section of my Etsy shop.

One last thing:  If you've ever wanted to design your own fabric, you need to check out Spoonflower!  Their printing is high quality, and making your own designs is super fun.  They also have weekly design contests.  I've entered this weeks, so if you go to the contests page, I would appreciate a vote for my Ditzy Outer Space print design (its under my etsy shop name, summerycreations).

Tuesday, August 16, 2011

School Daze

I know its been awhile since I posted last.  I didn't know until the day before school started, but the district has me working as a long term sub again.  I'm filling for the school's only chemistry teacher, who's out on maternity leave.  School started last Wednesday, and it has hit me like a ton of bricks.  It's hard to go from a fairly laid back summer of crafting to a full day of teaching, let me tell you.  As the only chemistry teacher, I have no planning period, a total of 7 classes and 224 students.  I don't think I'm going to be able to learn any names, ever.  I might know about 6 kid's names after a week, and I taught several of them last year when I was an algebra teacher.  Thankfully, most of my students seem pretty decent.  I haven't had any issues yet, no detentions given, and only one class will be on a seating chart due to too much chatting during lecture.

Since all this started, I haven't been able to craft anything, except for the bento box bag I'm finishing up for myself (possible pictures when I finish).  For the last week I've been going to work, coming home, taking a 2 hour nap, cooking dinner, watching a little TV, then going back to bed.  I'm hoping that I can build up some stamina soon and not have to take a nap every day.  Its been crazy, I didn't even take naps when I was in pre-school.  Nap time was when I stuffed the tip of my blanket in my pants and pretended it was tail and I was a skunk, like Flower from Bambi.

Until next time!

Sunday, August 7, 2011

Summer's Sunday Selections - Back To School

I don't know about the rest of you, but school starts this week for us.  Its time for us to head back into the classrooms and commence with the learnings.  Honestly, I'm not looking forward to it.  The back to school shopping however... thats more my style.  So, for this week's Sunday Selections I have gathered together a plethora of back to school items.  I gathered together so many that I won't be able to fit them all here, so I'll post a link to my pinterest board where the collection currently resides.

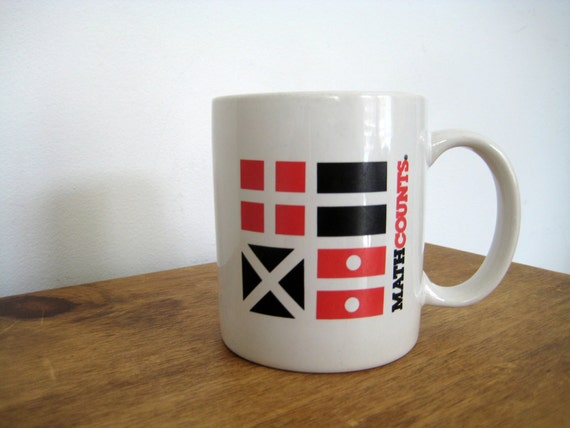
The first thing every school should start with is coffee.
Especially the first one.  I like this coffee cup because it
has math stuff on it.
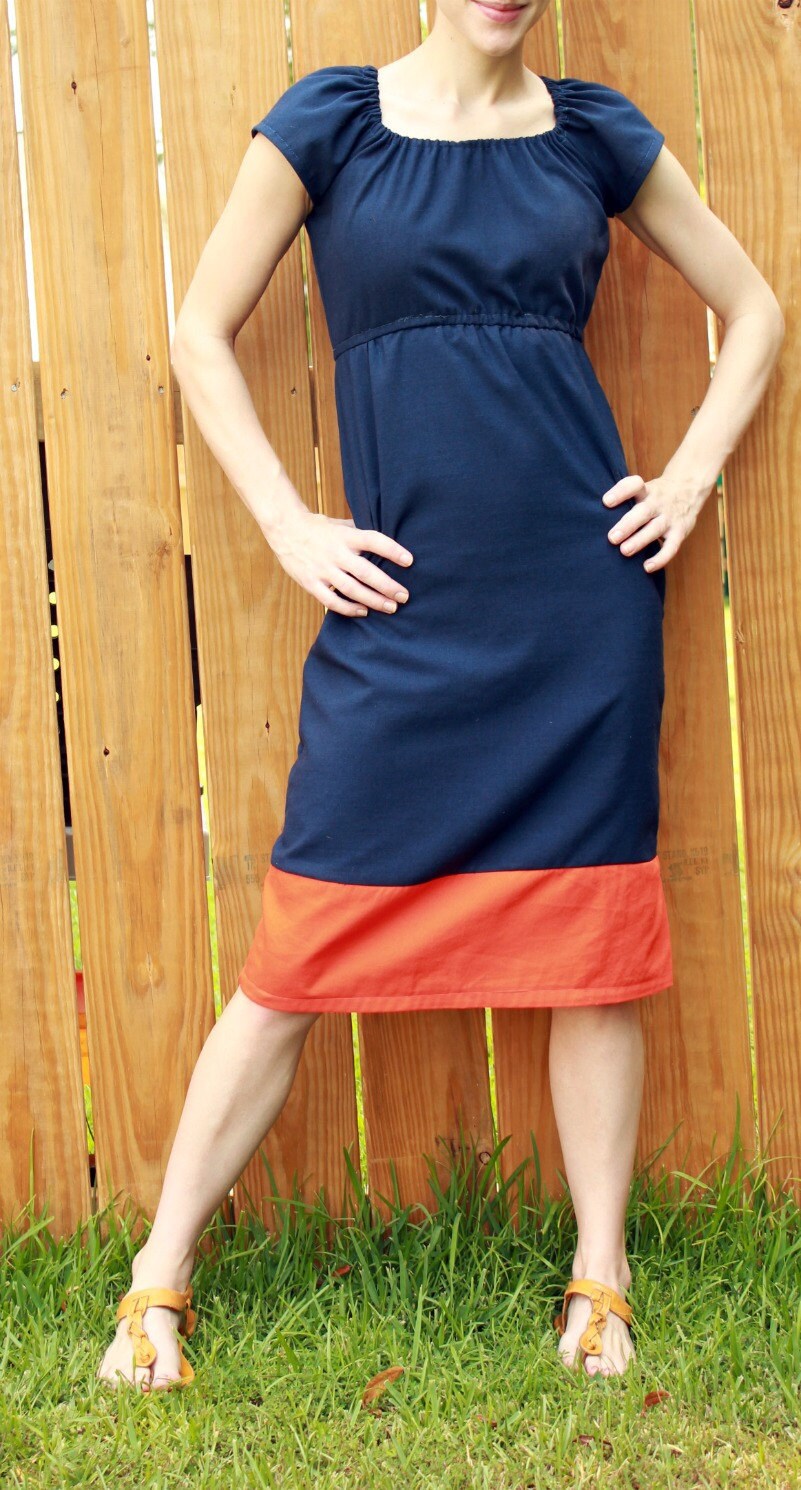
Of course, new clothes are also a must for the first day.
I like dresses because you only have to buy one piece
to have an outfit.  And I just like this one.
Of course, when it starts to get a bit cooler, you may also need a cute poncho
 like this one.
Organization is key to a good start.  This neato planner can help.


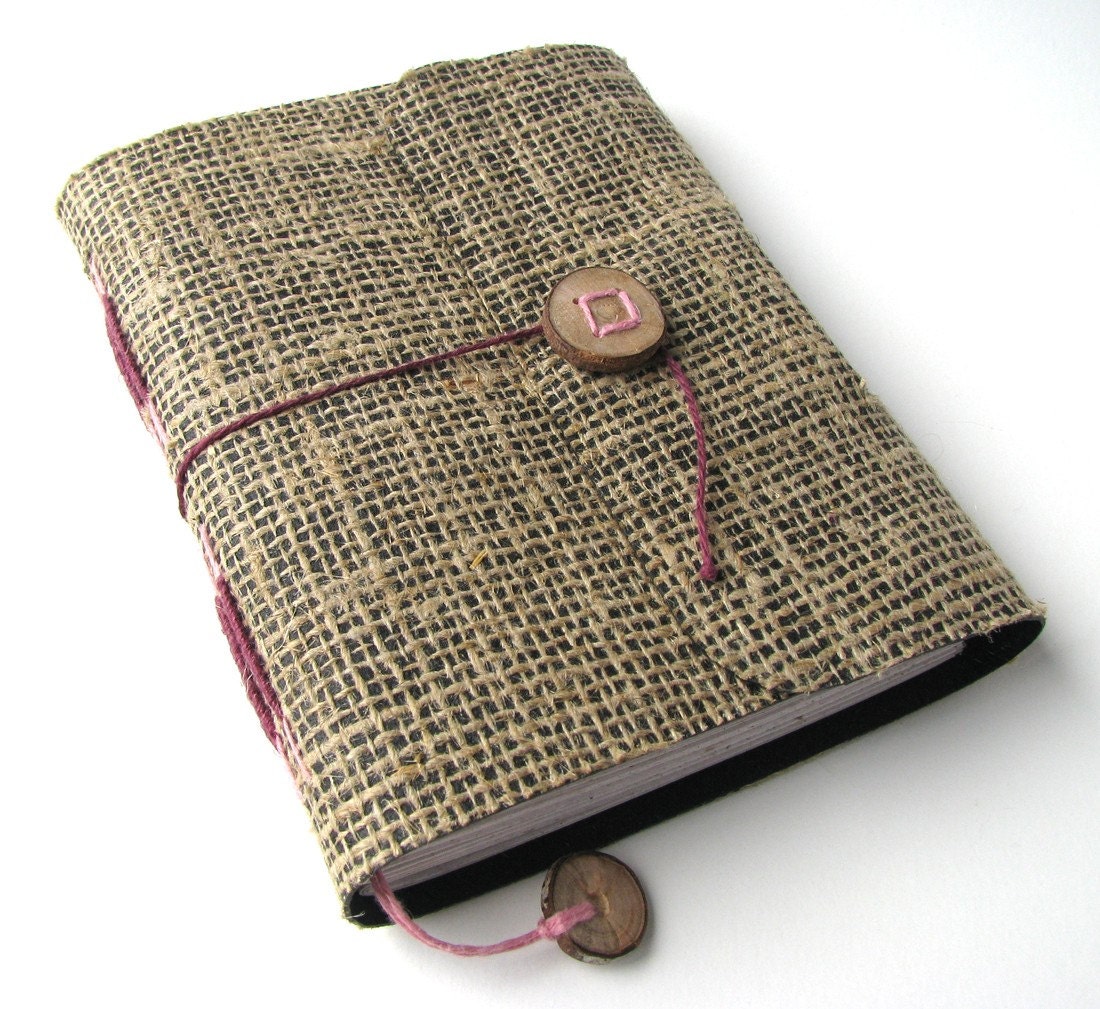
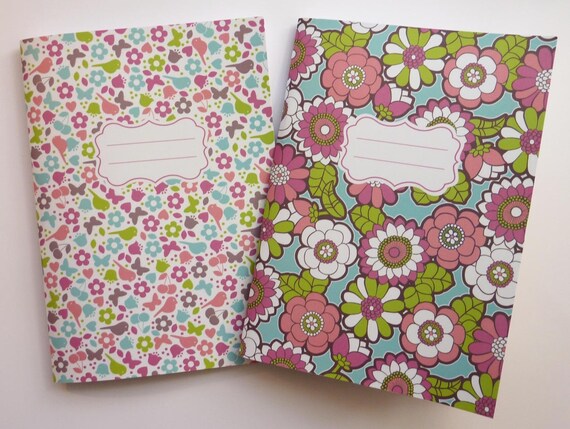
You'll need at least one notebook too.


Better make that three notebooks.


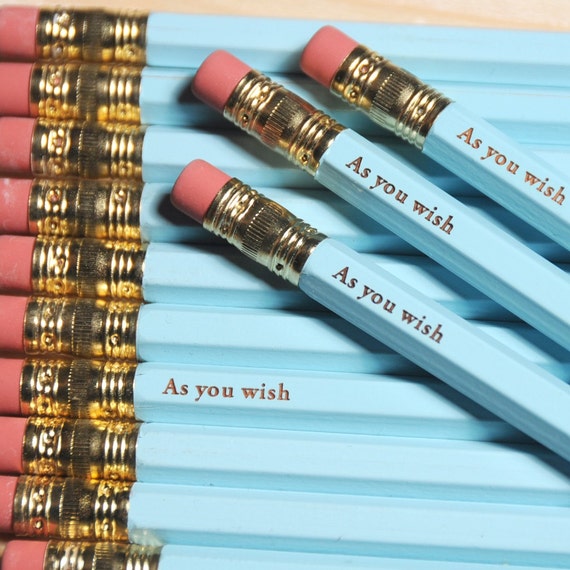
Pencils should also be on everyone's
 back to school shopping list.  I just
 love the Princess Bride reference on
 these sharp little pencils.
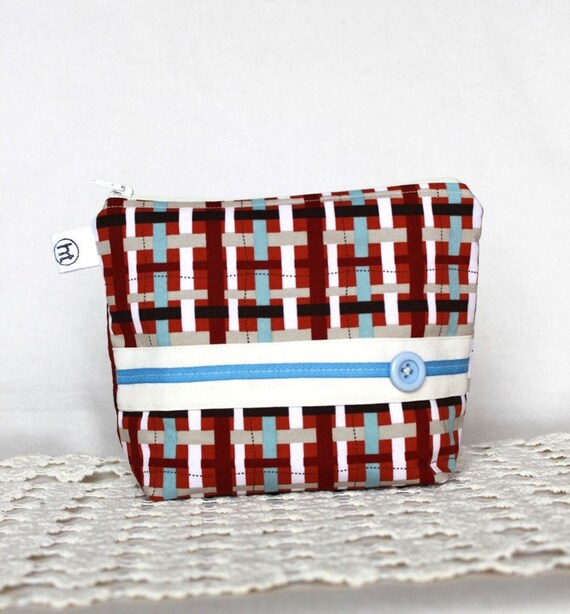
You'll probably want somewhere to keep
your pencils as well.  This
zipper case should do just fine.


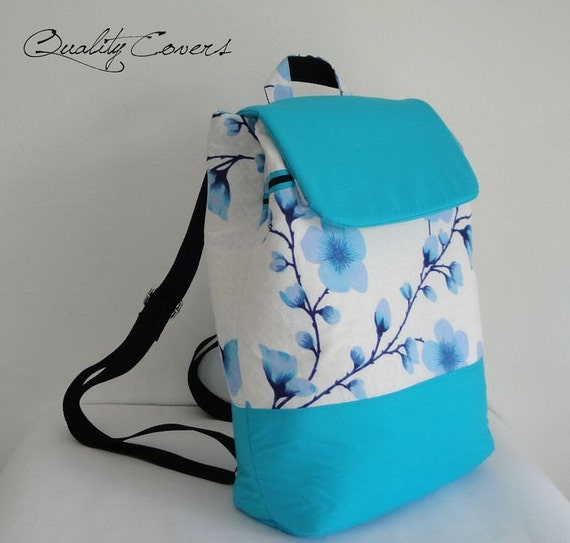
Backpacks are always in demand for the new school year.  I
am in love with the fabrics on this one.  Bonus, it has tons
 of pockets.
Or maybe you prefere the messenger bag.  (Hint: this one
works either way, its convertible!)
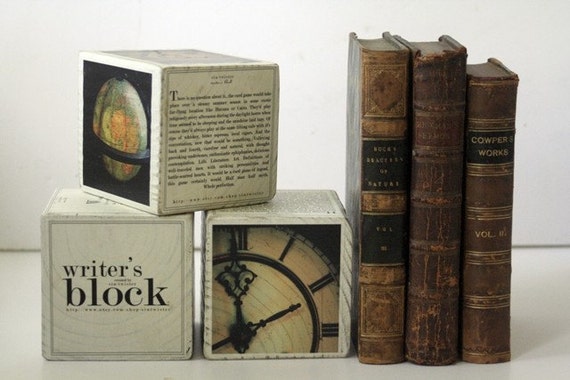
Once you have all of those new books, you may need
some cool bookends to keep them upright.

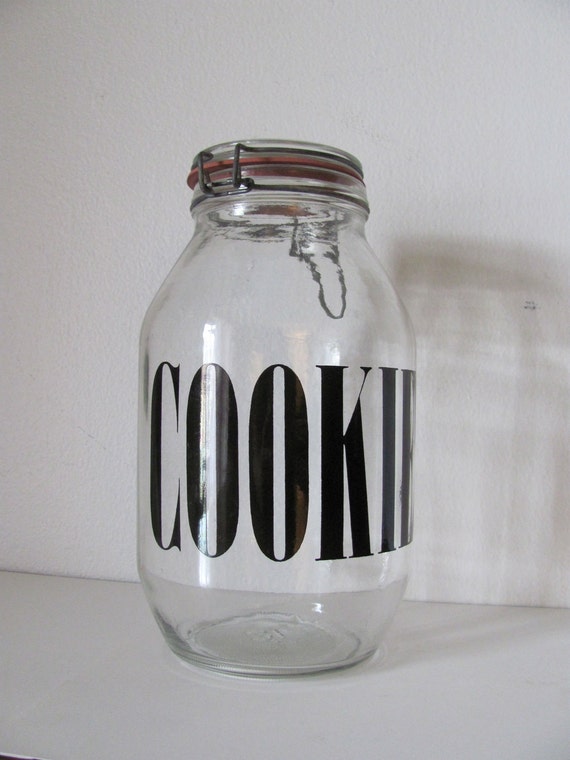
And every school day needs an after school snack!  And
every after school snack needs a place to hang out, why not
put it in this cool cookie jar?


That's it for today's selections. I hope you enjoyed the back to school edition. If you want to see some more of the things I've picked out, check out my back to school pinterest board. What back to school essentials do you fancy?

*I know the picture spacing is a little wonky, I tried to be fancy and they got all out of wack.

Wednesday, August 3, 2011

Sudden Inspiration

I love when ideas just come to me.  Sometimes I have a particular fabric or set of fabrics that I want to work with, and I just can't think of what I should make with them.  This is a problem for me, because often times I buy first, then pick a project, rather than having a project then buying the supplies.  I usually just sit down with some paper and doodle ideas until something sticks for a particular set of fabrics.  

Last week I purchased these super cute fabrics.  One has little birds and scattered hearts, and the other has color coordinating stripes.  I had been thinking for a couple of days about what I wanted to make with it.  I had tried sitting down and doodling, but I couldn't come up with anything I liked. 


Then I took a nap.  Now, when I nap, which is often, I usually sleep for at least 2 hours if I can.  Otherwise I'm just grouching for the rest of the day.  This time however, I woke up after only about an hour with a hazy dream like idea of a design.  It was so pressing an idea that I stumbled out of bed, scared the begeezus out of my husband who was in the kitchen eating my brownies, and sat down with some paper to sketch out the bag before I sleepily forgot it.
Extra Large Tweed Backpack


I had to wait to go through with my idea, since I was already working on this backpack.  Last night I was able to turn my idea into a bag, and I think it turned out wonderfully!  I also got to use the new fabric covered button kit I got at the same time as the fabric.


The design, brought to life!  Just posted on Etsy as well.


Do you guys have moments of sudden inspiration, when a design just comes to you?  Share your "ah-ha" moments!

Monday, August 1, 2011

Spicy Eggplant and Green Snap Beans Stir Fry

In between sewing and cruising the interwebs, I do have to feed myself.  Today I decided to try a veggie stir fry for lunch.  It turned out so well, that I thought I would share it with you guys.  This is by no means a traditional stir fry, however, it did make for quite a tasty lunch.  I got all of the produce from Bountiful Baskets, an awesome food co-op thats run by volunteers and makes local area in-season produce affordable and easy to get.  You get a variety of things, and you don't know what you'll get until you get there.  This is how I acquired the seemingly odd variety of ingredients in this meal.  Again, my recipes are more... guidelines.  I'll tell you what and how much I used, but experimenting with cooking is half of the fun!  So, on to the dish:

Spicy Eggplant and Green Snap Beans Stir Fry
Feeds 1 as a main dish, 2-3 as a side


1/2 medium eggplant (125g)
a generous handfull of green snap beans (100g)
1/4 of a medium yellow onion (50g)
1 medium jalapeno pepper
1 clove of garlic
1 tsp sesame oil
1/2 tbsp soy sauce
1/2 lime (or one key lime)
cilantro to taste


That bottle is my "healthy" soy sauce with kelp.  Its actually really good, and not overly salty.  I wish I could tell you more, like what the brand name is, but most of the bottle is in Korean.


Preparation:


1. Chop the veggies.  I sliced the eggplant into 1/4 in sections, and then cut the sections into 1/8ths.  I minced the garlic, snapped the beans into 2 inch pieces and cut the onion into small sections.  I cut the jalapeno into thinish slices.  Hint: Don't want too much heat from the pepper?  Cut out the seeds to eliminate some of the spiciness.


2. Prepare the pan/wok.  I used a teflon pan, so I try to keep the oil to a minimum.  I sprayed the pan once around with canola cooking oil, then added and spread the sesame oil.  If you aren't using a non stick pan, you may need more oil.


3. Start the cooking.  I turned my stove up to high and added the garlic.  I usually give it about a minute or so to heat up.


4. Cooking.  I added the green snap beans first since they take the longest to cook.    Stirring constantly is a must, even in a nonstick pan.  I gave them a few minutes, then added the onions and eggplant.  As soon as I had given them a good stir, I squeezed the lime over the pan, and added the soy sauce.  I let them cook for another 3-4 minutes while stirring.


5.  The finishing touches.  I added the jalapeno and cilantro last.  If you want a milder jalapeno, you should add it earlier, as the heat of the pan will temper the spiciness.  If you add them at the end, make sure they get enough time to cook and allow their flavor to blend with everything else.  At the very end, right before you turn off the stove is when the cilantro should be added.  It gets just enough heat to release the flavor without dulling it.


And voila!  A delicious, spicy eggplant and green snap bean stir fry!


How I Made a Simple Baby Blanket

Hi folks!  I decided a couple of days ago that I wanted to try my hand at making a baby blanket.  No, not for me, I don't plan on having any of those around for several years.  I wanted to make it for a coworker who's due in a couple of weeks.  I've never made a blanket before, but I've seen plenty of them around on Etsy and the like.  I really like the ones with the minky dot on one side and regular quilting type fabric on the other. 
I was thinking about this idea yesterday while I was at Jo-anns, wandering the fabric aisles, and decided to take the plunge and make one.  I wandered right into the baby section and started looking for boy's fabrics.  They had quite a selection, and I finally settled on a light blue flannel that had little animal faces in colored dots.  It didn't take me too long to find a coordinating flannel with just dots, and some blue minky fabric.   I also picked up some fusible fleece to give it some extra snuggly and cushion.
This is what I came home with.  I bought 1 yard of the minky dot, 1/2 yard
of the dots,  and 1 yard of the animals, and one yard of the interfacing.
When I got home, I started working right away.  After I squared up the edges of the animal print, I checked it against the fleece and trimmed that to fit.  Then I pinned the edges to make it easier to transfer to the ironing board and keep it all lined up.


After I finished ironing on the fleece, which was probably the most time consuming part, I got out the dot fabric and cut it into 3.5in wide strips. I sewed the strips together, then ran them through a 2 in bias tape maker to make the blanket binding.


You can see that I also stitched the minky to the other side here.


After that, I lined up the minky with the now fused animal print/fleece and trimmed the excess.  I then basted them together, as you can see in the last picture.  The final step was to simply attach the binding to the outside edges.  
If I ever make one of these again, I think I will need to get a walking foot, since the binding did bunch some.  The minky was a little tricky too, like any knit-stretchy type fabric.  It does pull a little on the rest so that it takes some coaxing to make it lay flat.  Overall though, I would say the blanket was a success!

The finished product! Its about 35in x 40in in size.  Perfect as regular blanket or a floor play area!
Do you guys have any tips/experience to share about making baby blankets or working with minky fabrics?

Sunday, July 31, 2011

Summer's Sunday Selections- Fantastic Lights!

After you’ve organized all of your stuff, you still need to be able to find it, and that might require some great lighting.   A couple lighting pieces really caught my eye this week, and I wanted to share them with you.  Fun, funky and functional lighting can generate inspiration as well as help you find things in your newly organized spaces.  And now, on to the selections!


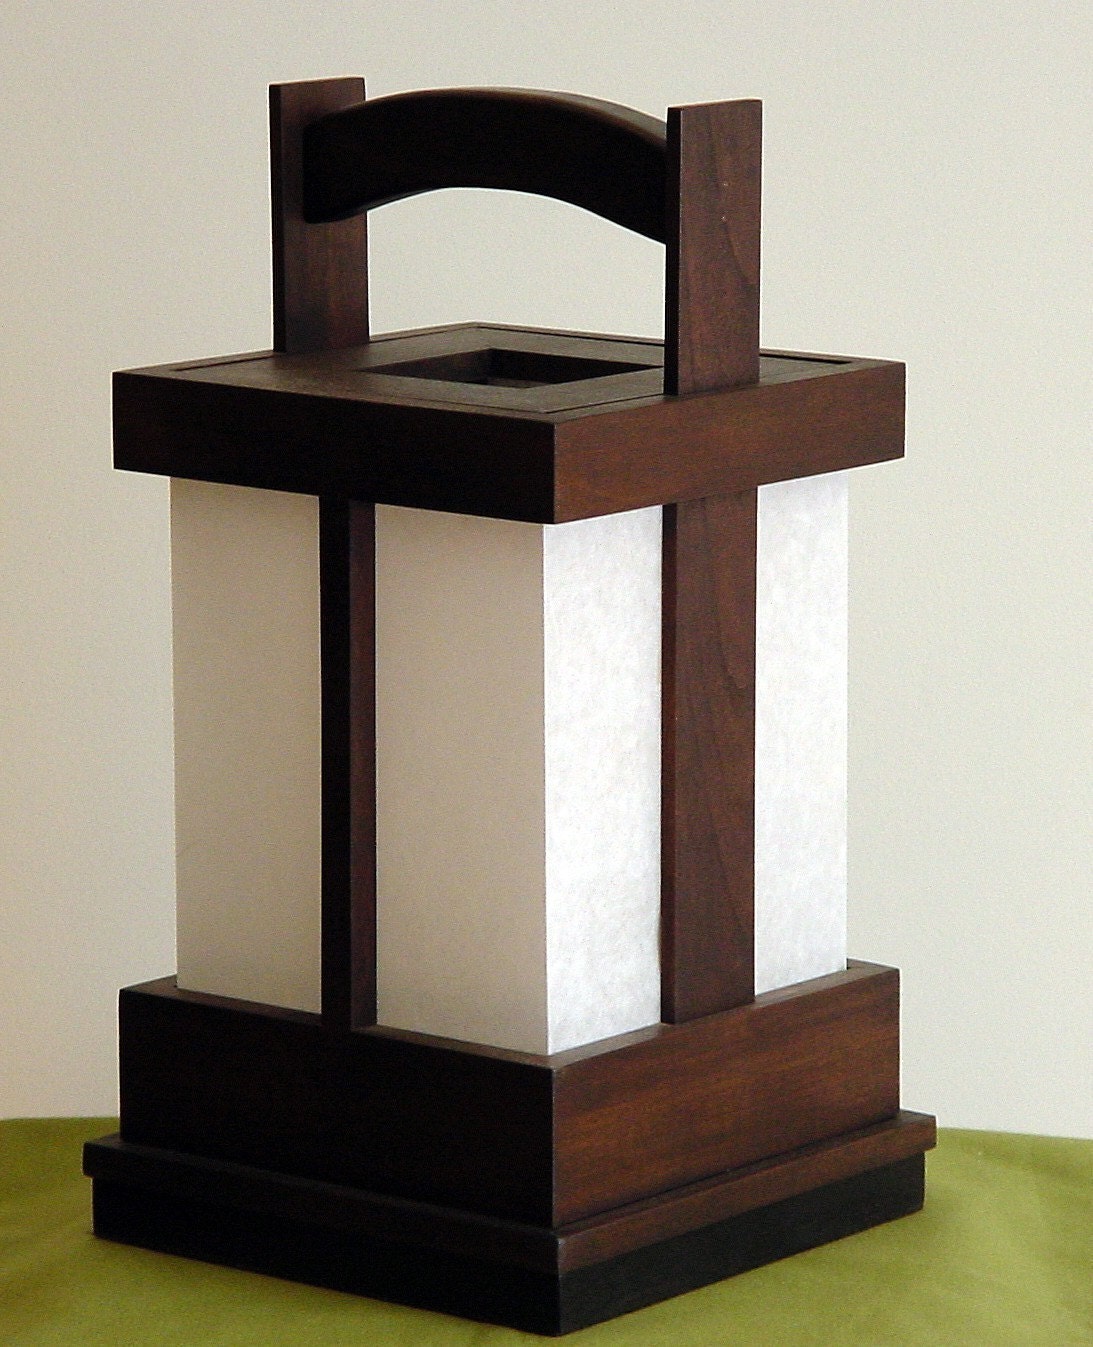
A Japanese Shoji (rice paper) lamp.  I love the classic asian stylings!

Pink Blooming Tree Table Lamp

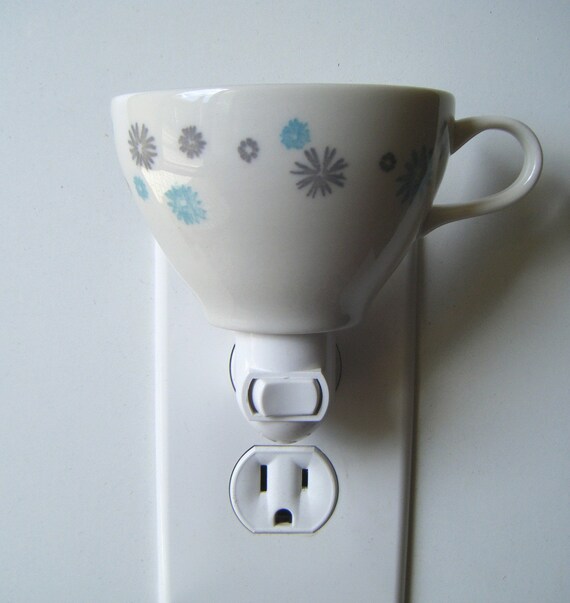
Sometimes you need to find your stuff at night too.  This
Eams Era Tea  Cup Night Light can help.

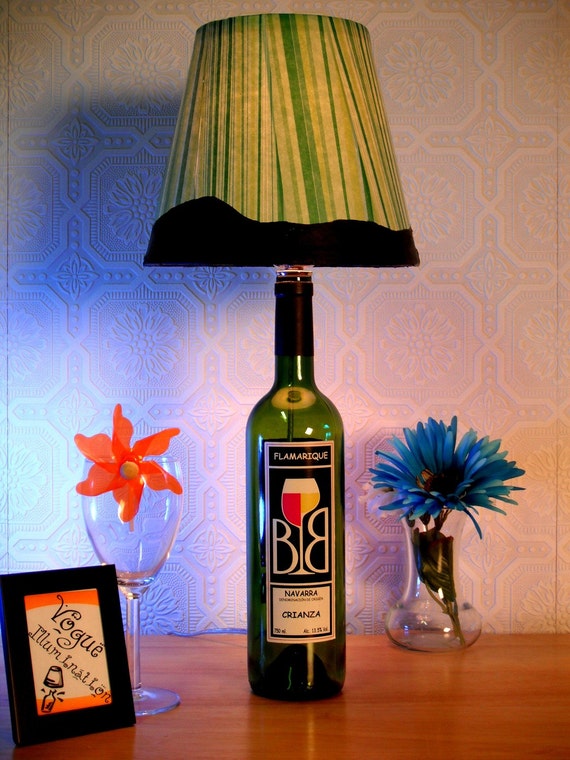
Upcycled Globe Lamp... Love it!

This shop has tons of lamps made from wine bottles, how cool is that?

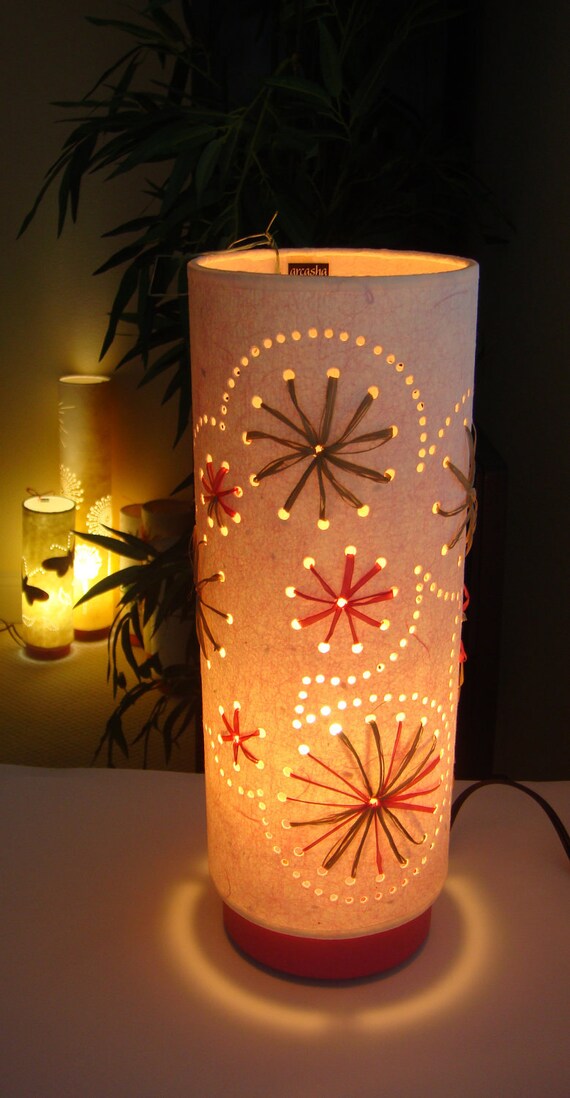
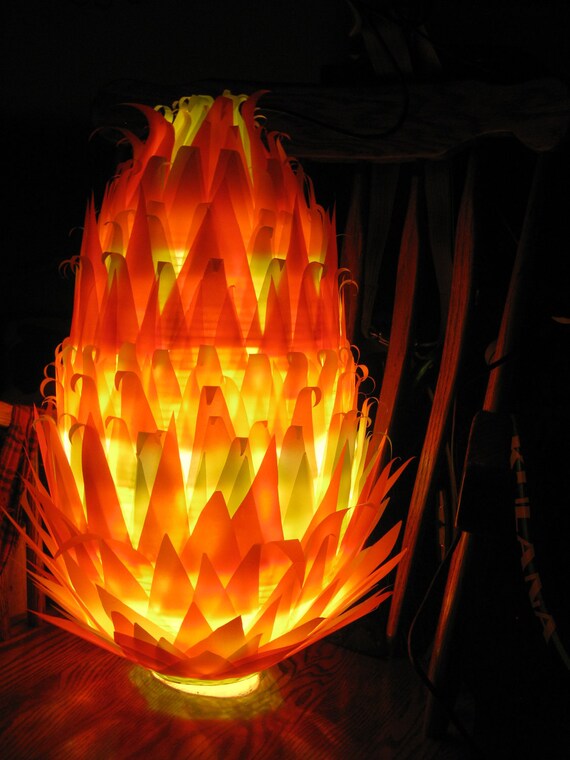
This lamp is just too neat!  Its a Custom Rice Paper Lamp.

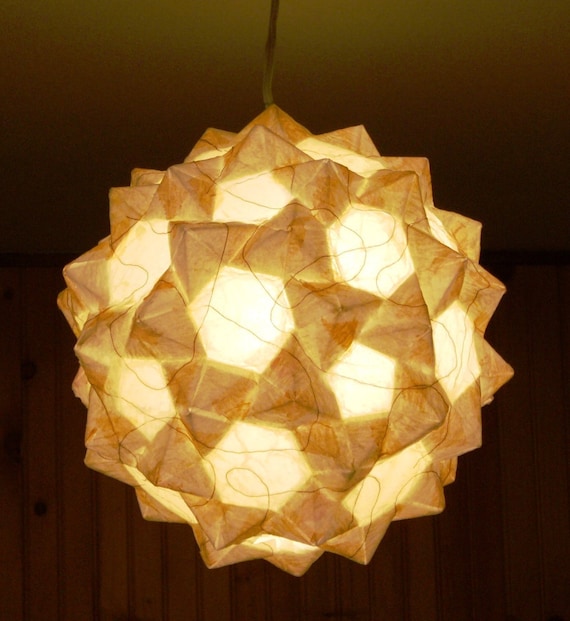
Matte White Origami Hanging Latern

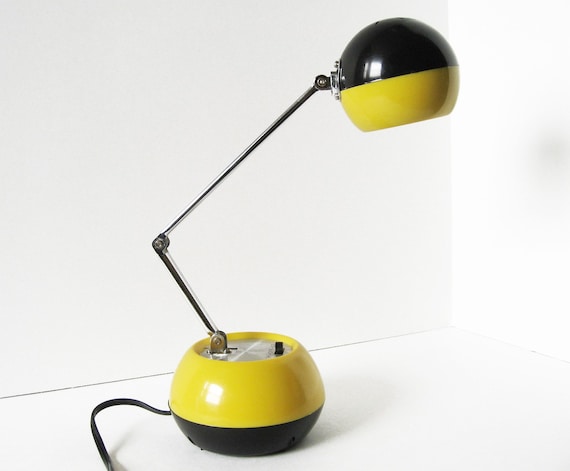
And lastly, something a little more retro.  This is a Mid Century
 Eyeball Expandable Underwriters Lam
p
And that’s it for today’s selections!  There will be more next week.

As a side note… I was mildly amused by all of the listings that had misspelled lightening as lighting.  I can’t be too amused though, I’m sure I make those kind mistakes all the time.  

*Update from last week's Sunday Selections*
Last week, I mentioned a cube shelf that I really wanted to replace my ugly wire rack as a crafting storage unit.  Well, my husband totally surprised me with it on Friday!   He was out at the school, doing teachery things, and he even called me and texted what he was doing along the way home, (I had asked him to pick up a couple of things at a different store) just to throw me off.  I was so excited when he brought it through the door, that I built the whole thing by myself in about 20 minutes.  I don't have any pictures yet, since I still need to "build" the baskets for it.  It looks kind of messy right now. 

Wednesday, July 27, 2011

Idea for A Fun, Simple, and Inexpensive Placemat

I'll admit it, this idea came to me when I bored at my desk the other day.  I was eating my lunch and surfing the nets when I looked down and saw the scratches and wear spots under my soup bowl.  I know my desk is no piece of artwork (its cheap and functional), but the signs of my habit of eating in front of the computer  were just so obvious.  So, I starting thinking... I need a placemat!  A regular one wouldn't work though, I needed a smaller one, to fit in front of my keyboard.


While moving over to my sewing table, I remembered the massive amounts of craft felt I had stored away in the closet.  I decided I wanted to use it since the idea was already brewing.  I was imagining a light grey cloud appliqued on to a layer of dark grey.  I didn't want the applique to show on the back, so it would probably need another layer of dark grey.  


So, I dragged the felt out of the back corner of the closet and started free-handing (or free-scissoring, as it were) a cloud out of the light grey.  I then cut out 2 10in x 7in rectangles from the dark grey.  I zigzag stitched the cloud to the first piece of dark grey felt.  I used the largest zig zag stitch my machine has, and left the stitches spaced out since I like the look of the obvious threads.  After I did that I decided that my little cloud had an expression that I needed to bring out, so I got out a fabric marker and some thread and stitched a chibi little face on him.  It has a multipurpose expression... Maybe he's hot from the toasty food, or maybe he's getting ready to blow on it, or maybe he has cloud-stipation.  Thats up to the viewer!


Then, for the finishing touches, I got out the serger  to overlock the edges of the two pieces of dark grey felt together.  Like with the zigzagging of the cloud, I wanted the threads to be obvious, so I used a wide 4-thread overlock stitch and white thread.  Zip, zip, zip, zip, and Cloudy McPlacemat was born!


Cloudy McPlacemat, minutes after birth.
I think this would be a great general idea for anyone looking to make inexpensive (craft felt is cheap... regular price is something like $4-5 per yard of 70 inch wide felt) and cute placemats.  Of course the size can be changed for regular table-eaters placemats, or left small for us desk-eaters, or children.  You could cut out any kind of character you want for top.  And you can easily finish them without a serger, since felt doesn't ravel.  You would just need to stitch around the outside with whatever stitch you like the look of, be that a regular straight stitch or something more fancy.
Cloudy's first big job, yesterday's dinner.
I think he wanted to eat my dinner tonight... I don't blame him, it was tasty!
I'm considering making some to sell, what do you guys think?  Would you buy/use placemats like this?