I know its been awhile since I posted last. I didn't know until the day before school started, but the district has me working as a long term sub again. I'm filling for the school's only chemistry teacher, who's out on maternity leave. School started last Wednesday, and it has hit me like a ton of bricks. It's hard to go from a fairly laid back summer of crafting to a full day of teaching, let me tell you. As the only chemistry teacher, I have no planning period, a total of 7 classes and 224 students. I don't think I'm going to be able to learn any names, ever. I might know about 6 kid's names after a week, and I taught several of them last year when I was an algebra teacher. Thankfully, most of my students seem pretty decent. I haven't had any issues yet, no detentions given, and only one class will be on a seating chart due to too much chatting during lecture.
Since all this started, I haven't been able to craft anything, except for the bento box bag I'm finishing up for myself (possible pictures when I finish). For the last week I've been going to work, coming home, taking a 2 hour nap, cooking dinner, watching a little TV, then going back to bed. I'm hoping that I can build up some stamina soon and not have to take a nap every day. Its been crazy, I didn't even take naps when I was in pre-school. Nap time was when I stuffed the tip of my blanket in my pants and pretended it was tail and I was a skunk, like Flower from Bambi.
Until next time!
This blog is here to help promote my ideas and the sale of my products, as well as foster general creativity of both myself and anyone who wants to read. Besides sewing, which will be the main topic, I also do some graphic design and am relearning some other fabric related arts, like kumihimo, crochet and inkle weaving. This blog will also be left open to random postings about my life.
Tuesday, August 16, 2011
Sunday, August 7, 2011
Summer's Sunday Selections - Back To School
I don't know about the rest of you, but school starts this week for us. Its time for us to head back into the classrooms and commence with the learnings. Honestly, I'm not looking forward to it. The back to school shopping however... thats more my style. So, for this week's Sunday Selections I have gathered together a plethora of back to school items. I gathered together so many that I won't be able to fit them all here, so I'll post a link to my pinterest board where the collection currently resides.
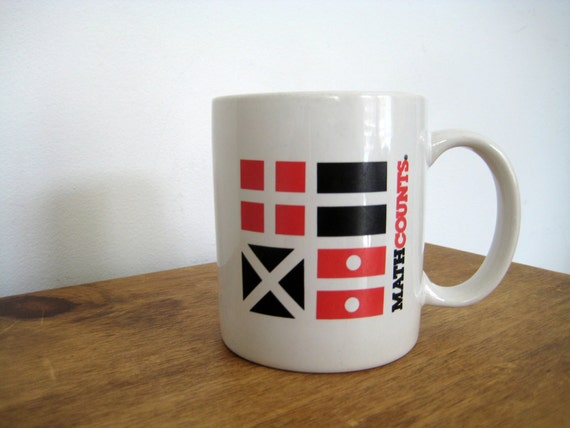 |
| The first thing every school should start with is coffee. Especially the first one. I like this coffee cup because it has math stuff on it. |
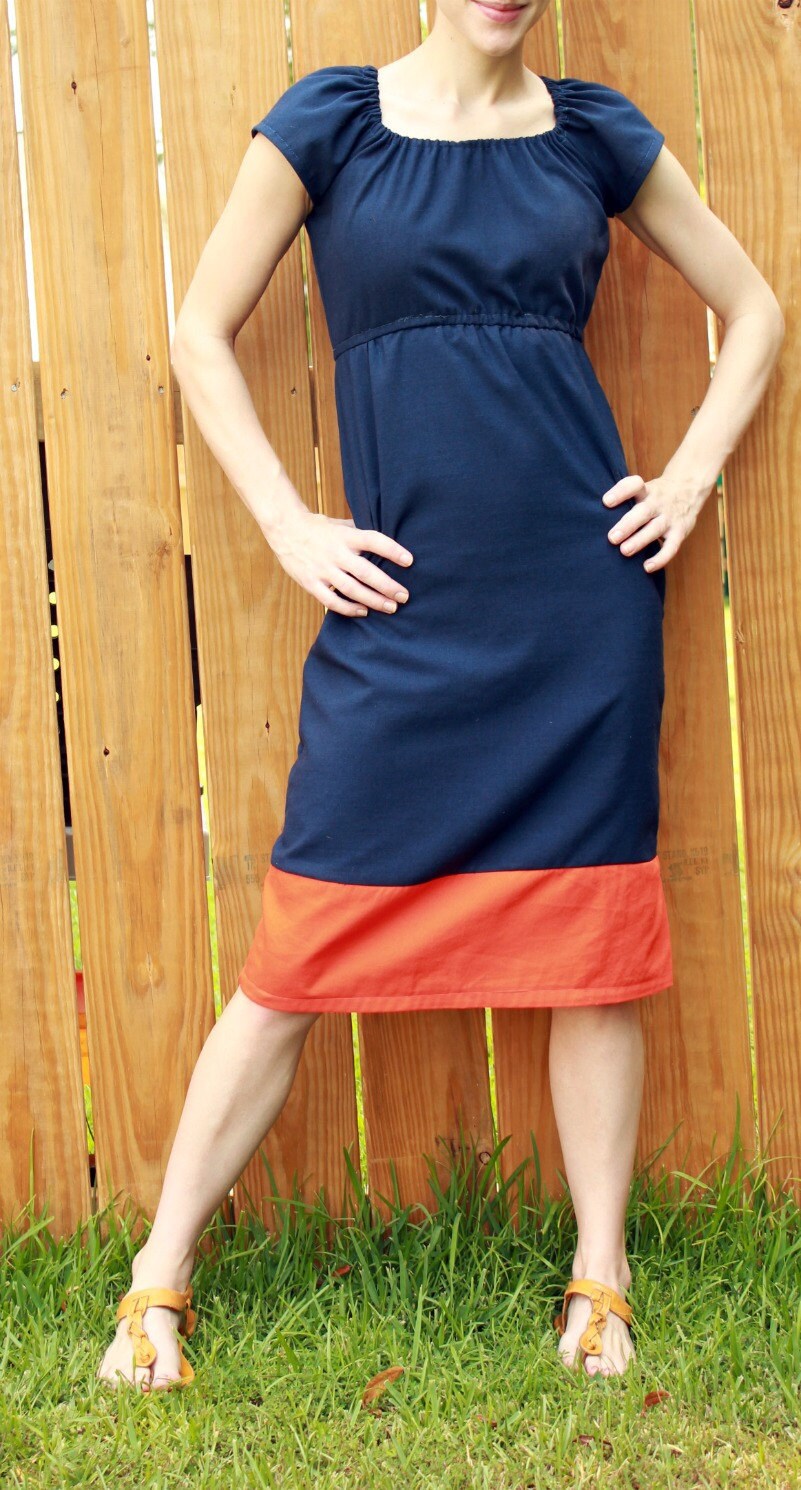 |
| Of course, new clothes are also a must for the first day. I like dresses because you only have to buy one piece to have an outfit. And I just like this one. |
 |
| Of course, when it starts to get a bit cooler, you may also need a cute poncho like this one. |
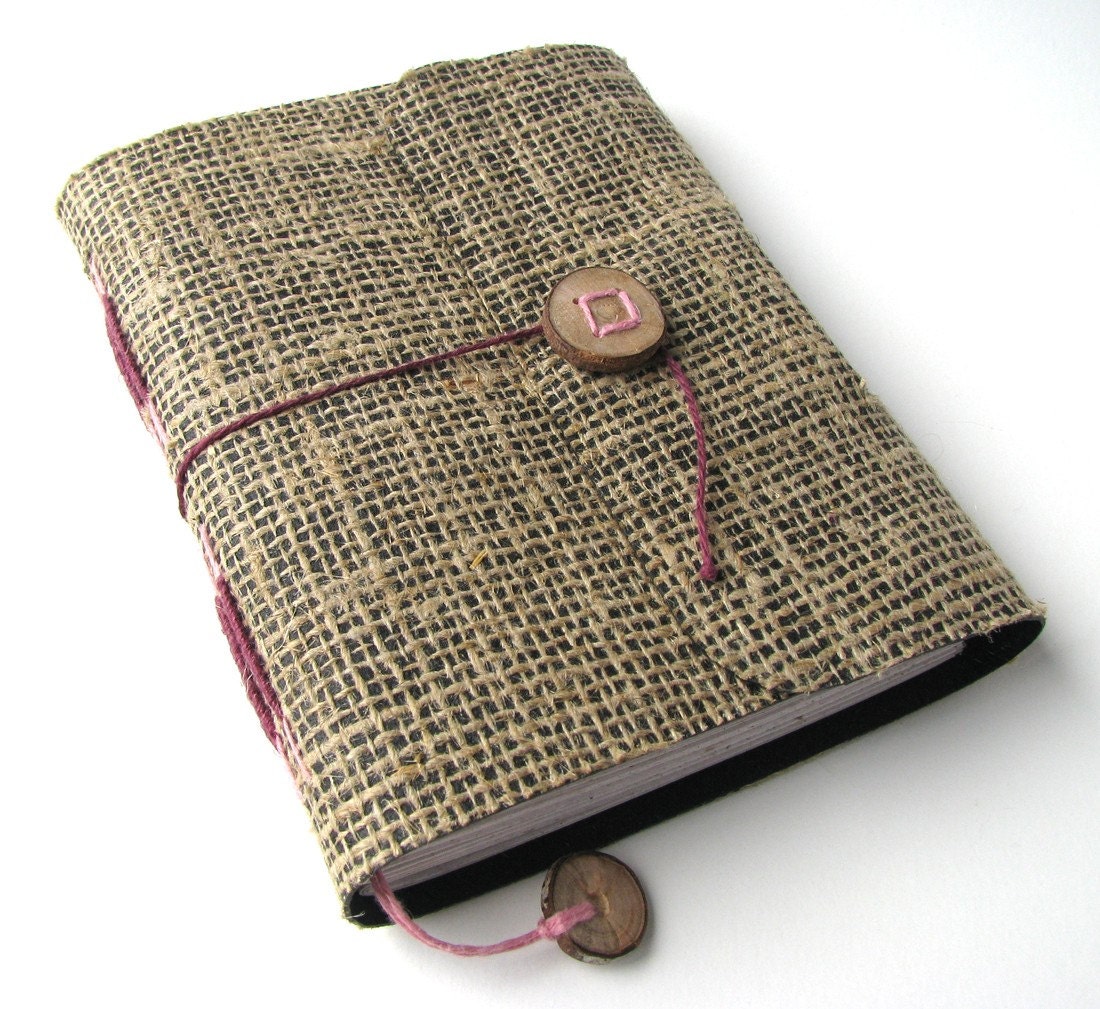 |
| Organization is key to a good start. This neato planner can help. |
 |
| You'll need at least one notebook too. |
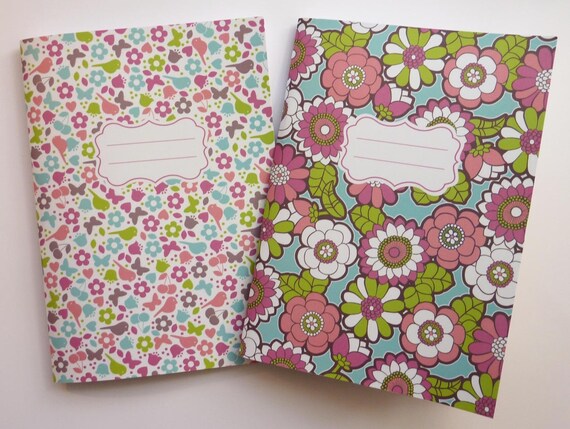 |
| Better make that three notebooks. |
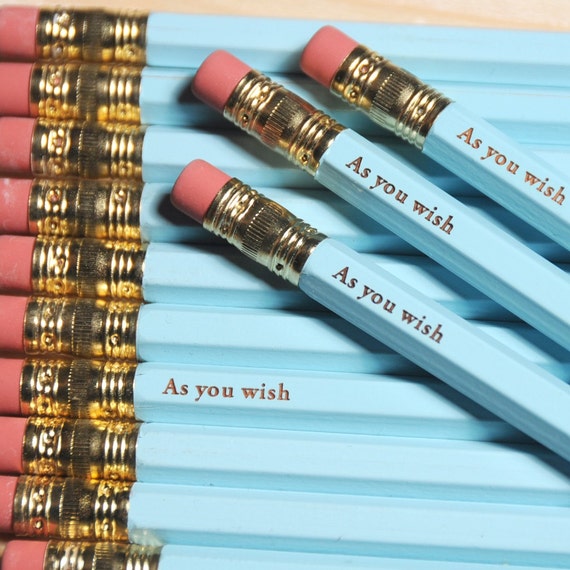 |
| Pencils should also be on everyone's back to school shopping list. I just love the Princess Bride reference on these sharp little pencils. |
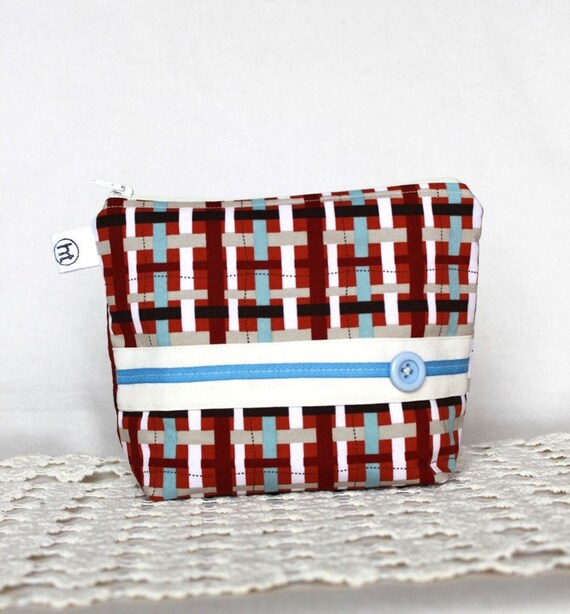 |
| You'll probably want somewhere to keep your pencils as well. This zipper case should do just fine. |
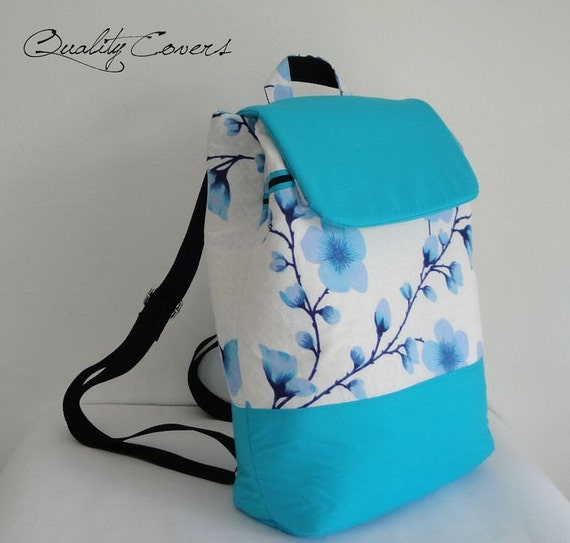 |
| Backpacks are always in demand for the new school year. I am in love with the fabrics on this one. Bonus, it has tons of pockets. |
 |
| Or maybe you prefere the messenger bag. (Hint: this one works either way, its convertible!) |
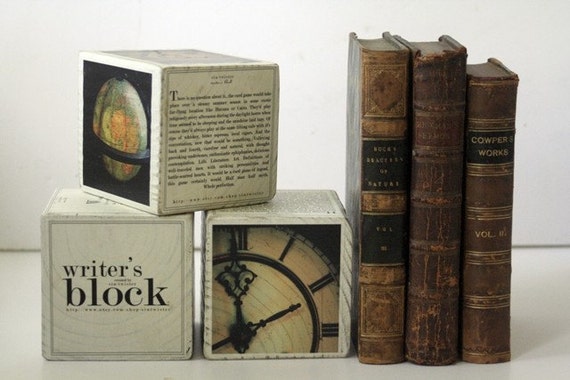 |
| Once you have all of those new books, you may need some cool bookends to keep them upright. |
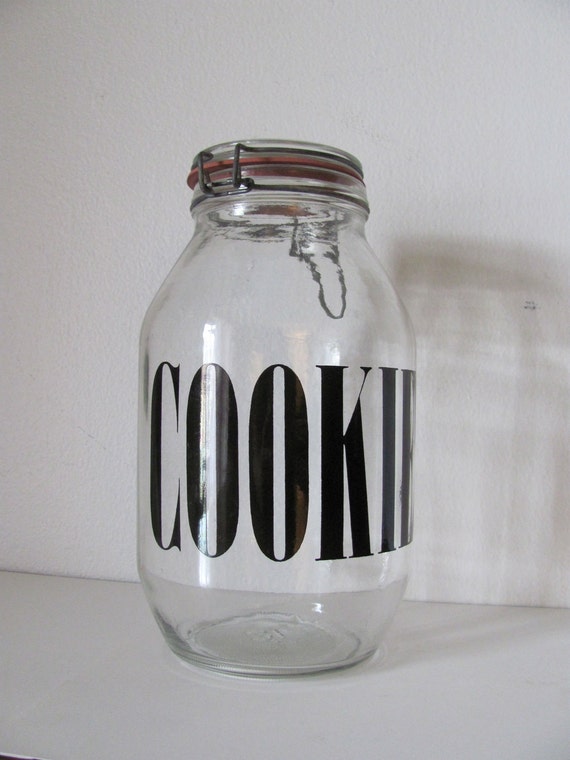 |
| And every school day needs an after school snack! And every after school snack needs a place to hang out, why not put it in this cool cookie jar? |
That's it for today's selections. I hope you enjoyed the back to school edition. If you want to see some more of the things I've picked out, check out my back to school pinterest board. What back to school essentials do you fancy?
*I know the picture spacing is a little wonky, I tried to be fancy and they got all out of wack.
Wednesday, August 3, 2011
Sudden Inspiration
I love when ideas just come to me. Sometimes I have a particular fabric or set of fabrics that I want to work with, and I just can't think of what I should make with them. This is a problem for me, because often times I buy first, then pick a project, rather than having a project then buying the supplies. I usually just sit down with some paper and doodle ideas until something sticks for a particular set of fabrics.
Last week I purchased these super cute fabrics. One has little birds and scattered hearts, and the other has color coordinating stripes. I had been thinking for a couple of days about what I wanted to make with it. I had tried sitting down and doodling, but I couldn't come up with anything I liked.
Then I took a nap. Now, when I nap, which is often, I usually sleep for at least 2 hours if I can. Otherwise I'm just grouching for the rest of the day. This time however, I woke up after only about an hour with a hazy dream like idea of a design. It was so pressing an idea that I stumbled out of bed, scared the begeezus out of my husband who was in the kitchen eating my brownies, and sat down with some paper to sketch out the bag before I sleepily forgot it.
I had to wait to go through with my idea, since I was already working on this backpack. Last night I was able to turn my idea into a bag, and I think it turned out wonderfully! I also got to use the new fabric covered button kit I got at the same time as the fabric.
Do you guys have moments of sudden inspiration, when a design just comes to you? Share your "ah-ha" moments!
Last week I purchased these super cute fabrics. One has little birds and scattered hearts, and the other has color coordinating stripes. I had been thinking for a couple of days about what I wanted to make with it. I had tried sitting down and doodling, but I couldn't come up with anything I liked.
Then I took a nap. Now, when I nap, which is often, I usually sleep for at least 2 hours if I can. Otherwise I'm just grouching for the rest of the day. This time however, I woke up after only about an hour with a hazy dream like idea of a design. It was so pressing an idea that I stumbled out of bed, scared the begeezus out of my husband who was in the kitchen eating my brownies, and sat down with some paper to sketch out the bag before I sleepily forgot it.
 |
| Extra Large Tweed Backpack |
I had to wait to go through with my idea, since I was already working on this backpack. Last night I was able to turn my idea into a bag, and I think it turned out wonderfully! I also got to use the new fabric covered button kit I got at the same time as the fabric.
 |
| The design, brought to life! Just posted on Etsy as well. |
Do you guys have moments of sudden inspiration, when a design just comes to you? Share your "ah-ha" moments!
Monday, August 1, 2011
Spicy Eggplant and Green Snap Beans Stir Fry
In between sewing and cruising the interwebs, I do have to feed myself. Today I decided to try a veggie stir fry for lunch. It turned out so well, that I thought I would share it with you guys. This is by no means a traditional stir fry, however, it did make for quite a tasty lunch. I got all of the produce from Bountiful Baskets, an awesome food co-op thats run by volunteers and makes local area in-season produce affordable and easy to get. You get a variety of things, and you don't know what you'll get until you get there. This is how I acquired the seemingly odd variety of ingredients in this meal. Again, my recipes are more... guidelines. I'll tell you what and how much I used, but experimenting with cooking is half of the fun! So, on to the dish:
Spicy Eggplant and Green Snap Beans Stir Fry
Feeds 1 as a main dish, 2-3 as a side
1/2 medium eggplant (125g)
a generous handfull of green snap beans (100g)
1/4 of a medium yellow onion (50g)
1 medium jalapeno pepper
1 clove of garlic
1 tsp sesame oil
1/2 tbsp soy sauce
1/2 lime (or one key lime)
cilantro to taste
Preparation:
1. Chop the veggies. I sliced the eggplant into 1/4 in sections, and then cut the sections into 1/8ths. I minced the garlic, snapped the beans into 2 inch pieces and cut the onion into small sections. I cut the jalapeno into thinish slices. Hint: Don't want too much heat from the pepper? Cut out the seeds to eliminate some of the spiciness.
2. Prepare the pan/wok. I used a teflon pan, so I try to keep the oil to a minimum. I sprayed the pan once around with canola cooking oil, then added and spread the sesame oil. If you aren't using a non stick pan, you may need more oil.
3. Start the cooking. I turned my stove up to high and added the garlic. I usually give it about a minute or so to heat up.
4. Cooking. I added the green snap beans first since they take the longest to cook. Stirring constantly is a must, even in a nonstick pan. I gave them a few minutes, then added the onions and eggplant. As soon as I had given them a good stir, I squeezed the lime over the pan, and added the soy sauce. I let them cook for another 3-4 minutes while stirring.
5. The finishing touches. I added the jalapeno and cilantro last. If you want a milder jalapeno, you should add it earlier, as the heat of the pan will temper the spiciness. If you add them at the end, make sure they get enough time to cook and allow their flavor to blend with everything else. At the very end, right before you turn off the stove is when the cilantro should be added. It gets just enough heat to release the flavor without dulling it.
And voila! A delicious, spicy eggplant and green snap bean stir fry!
Spicy Eggplant and Green Snap Beans Stir Fry
Feeds 1 as a main dish, 2-3 as a side
1/2 medium eggplant (125g)
a generous handfull of green snap beans (100g)
1/4 of a medium yellow onion (50g)
1 medium jalapeno pepper
1 clove of garlic
1 tsp sesame oil
1/2 tbsp soy sauce
1/2 lime (or one key lime)
cilantro to taste
 |
| That bottle is my "healthy" soy sauce with kelp. Its actually really good, and not overly salty. I wish I could tell you more, like what the brand name is, but most of the bottle is in Korean. |
Preparation:
1. Chop the veggies. I sliced the eggplant into 1/4 in sections, and then cut the sections into 1/8ths. I minced the garlic, snapped the beans into 2 inch pieces and cut the onion into small sections. I cut the jalapeno into thinish slices. Hint: Don't want too much heat from the pepper? Cut out the seeds to eliminate some of the spiciness.
2. Prepare the pan/wok. I used a teflon pan, so I try to keep the oil to a minimum. I sprayed the pan once around with canola cooking oil, then added and spread the sesame oil. If you aren't using a non stick pan, you may need more oil.
3. Start the cooking. I turned my stove up to high and added the garlic. I usually give it about a minute or so to heat up.
4. Cooking. I added the green snap beans first since they take the longest to cook. Stirring constantly is a must, even in a nonstick pan. I gave them a few minutes, then added the onions and eggplant. As soon as I had given them a good stir, I squeezed the lime over the pan, and added the soy sauce. I let them cook for another 3-4 minutes while stirring.
5. The finishing touches. I added the jalapeno and cilantro last. If you want a milder jalapeno, you should add it earlier, as the heat of the pan will temper the spiciness. If you add them at the end, make sure they get enough time to cook and allow their flavor to blend with everything else. At the very end, right before you turn off the stove is when the cilantro should be added. It gets just enough heat to release the flavor without dulling it.
And voila! A delicious, spicy eggplant and green snap bean stir fry!
How I Made a Simple Baby Blanket
Hi folks! I decided a couple of days ago that I wanted to try my hand at making a baby blanket. No, not for me, I don't plan on having any of those around for several years. I wanted to make it for a coworker who's due in a couple of weeks. I've never made a blanket before, but I've seen plenty of them around on Etsy and the like. I really like the ones with the minky dot on one side and regular quilting type fabric on the other.
I was thinking about this idea yesterday while I was at Jo-anns, wandering the fabric aisles, and decided to take the plunge and make one. I wandered right into the baby section and started looking for boy's fabrics. They had quite a selection, and I finally settled on a light blue flannel that had little animal faces in colored dots. It didn't take me too long to find a coordinating flannel with just dots, and some blue minky fabric. I also picked up some fusible fleece to give it some extra snuggly and cushion.
When I got home, I started working right away. After I squared up the edges of the animal print, I checked it against the fleece and trimmed that to fit. Then I pinned the edges to make it easier to transfer to the ironing board and keep it all lined up.
After I finished ironing on the fleece, which was probably the most time consuming part, I got out the dot fabric and cut it into 3.5in wide strips. I sewed the strips together, then ran them through a 2 in bias tape maker to make the blanket binding.
After that, I lined up the minky with the now fused animal print/fleece and trimmed the excess. I then basted them together, as you can see in the last picture. The final step was to simply attach the binding to the outside edges.
If I ever make one of these again, I think I will need to get a walking foot, since the binding did bunch some. The minky was a little tricky too, like any knit-stretchy type fabric. It does pull a little on the rest so that it takes some coaxing to make it lay flat. Overall though, I would say the blanket was a success!
I was thinking about this idea yesterday while I was at Jo-anns, wandering the fabric aisles, and decided to take the plunge and make one. I wandered right into the baby section and started looking for boy's fabrics. They had quite a selection, and I finally settled on a light blue flannel that had little animal faces in colored dots. It didn't take me too long to find a coordinating flannel with just dots, and some blue minky fabric. I also picked up some fusible fleece to give it some extra snuggly and cushion.
 |
| This is what I came home with. I bought 1 yard of the minky dot, 1/2 yard of the dots, and 1 yard of the animals, and one yard of the interfacing. |
After I finished ironing on the fleece, which was probably the most time consuming part, I got out the dot fabric and cut it into 3.5in wide strips. I sewed the strips together, then ran them through a 2 in bias tape maker to make the blanket binding.
 |
| You can see that I also stitched the minky to the other side here. |
After that, I lined up the minky with the now fused animal print/fleece and trimmed the excess. I then basted them together, as you can see in the last picture. The final step was to simply attach the binding to the outside edges.
If I ever make one of these again, I think I will need to get a walking foot, since the binding did bunch some. The minky was a little tricky too, like any knit-stretchy type fabric. It does pull a little on the rest so that it takes some coaxing to make it lay flat. Overall though, I would say the blanket was a success!
 |
| The finished product! Its about 35in x 40in in size. Perfect as regular blanket or a floor play area! |
Do you guys have any tips/experience to share about making baby blankets or working with minky fabrics?
Subscribe to:
Comments (Atom)


