Friday, July 22, 2011

How I Got My Groove Back

Hello again!  It’s been too long.  Life caught up with me the last month or so, between the 4th and our vacation to San Francisco (there will be pictures in another post).  In the mean time, I’ve come up with a fantastic new idea for some totes, so I’m going to talk about that today, in narrative form… Story time!

A little backstory to start:  Ever since we got back from our vacation, I’ve been be fairly uninspired.  Call it a creative slump, heat induced laziness or general mild malaise, I just wasn’t getting much done in the way of making new things for my Etsy shop, or marketing.   However, two things happened yesterday that kick started my creative juices:  I went to Joann’s and found a set of hanging closet organizers that were 50% off, and ¾ of a yard of clear vinyl in the remnants bin.  These items aren’t related to each other, but they both gave me the collective kick I needed.

The fruits of my labor!  A stuffed, but 
organized closet.  Also, I hate proper folding.
Firstly, the closet hangers… I’ve been meaning to clean and straighten our closet for a while.  I like organization, but sometimes I just can’t seem to pick up that shirt from the growing pile on the floor. Our lack of storage space doesn’t help either.  Buying the closet organizers was the perfect motivation to get in there and pick everything up.  The closet itself is huge, so it took me about 2 hours to root around, pull everything out, and then put in the organizers in and put everything back.  Now our stuff is wonderfully neat and tidy.  The cleaning even spilled over into my work space and I tidied that up as well.  As any woman can tell you, cleaning/ organizing something can be great source of inspiration, motivation, mood elevator, well of happiness, ect (am I right ladies?). 

The other kick came from the idea I had when I saw the vinyl.  At first I thought, “$2?   But what the heck would I do with it?”  Then the idea just came to me… I could totally use that to put picture pockets on a tote bag!  How awesome would that be?  It’s a great way to personalize a bag.  I have so many ideas of what they could be used for… school tote bags, friendship totes, a fancy bag for a gift, and so on.  So I got it, and stashed when I got home so I could tackle the closet.

So, when I got up this morning I got to work figuring out just how I was going to put something like this together.  I wanted to frame the vinyl rectangle with fabric, so that I could then attach the fabric frame to a tote.  I went through several ideas before I decided to try bias tape, and this is the result: 

There is vinyl inside the frame, you just can't see it here... cause its clear!
I think it turned out really great! I just designed this little tote bag to go with it, so I’ll post again when I finish it.
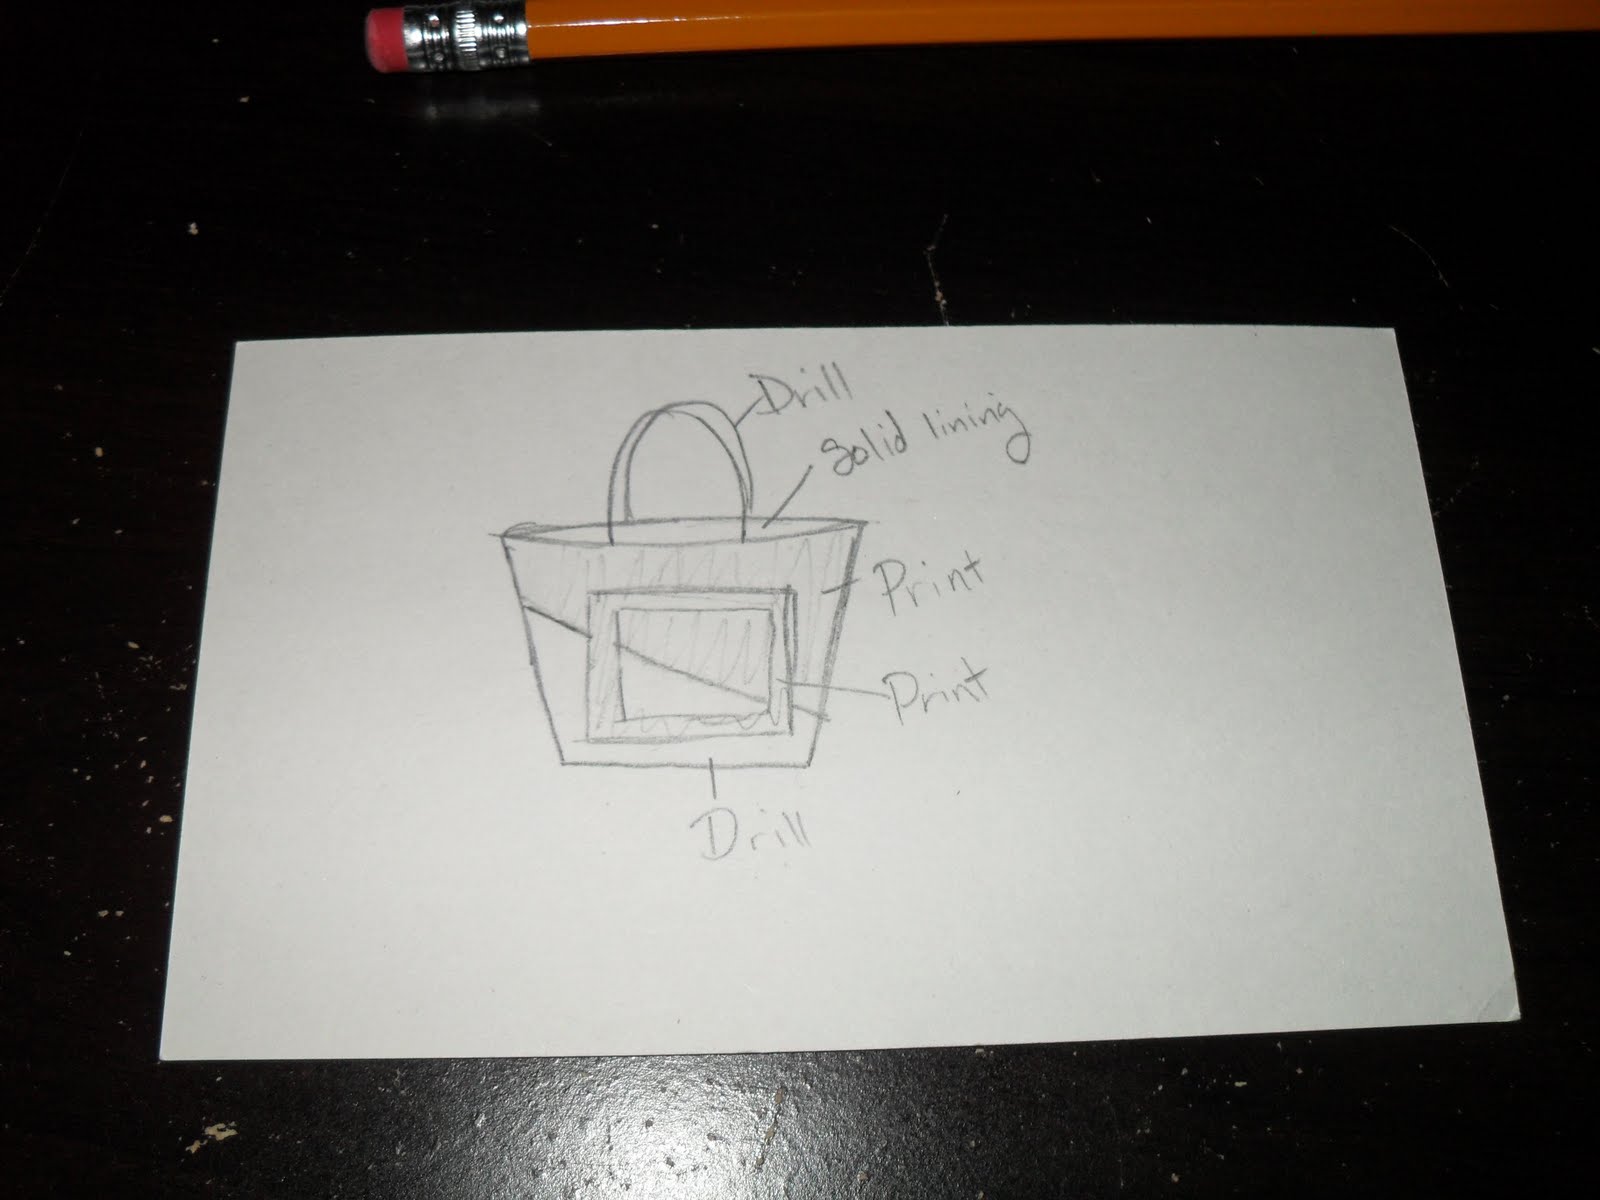
Yes, I did sketch my design on the back of an index card.


Moral of the story:  Creative rut?  Go clean something, and all will be well.


The next big post should be all about the vaca, with lots of pictures!


Update:  Here's a picture of how the tote turned out-


I love it!  You love it too?  Check this link and you can buy it.

Sunday, June 12, 2011

Summer's Sunday Selections- Featuring Etsy Entrepreneurs

Starting today, this will be a weekly feature for my blog.  I am going to comb through the vast reaches of Etsy, and maybe even beyond, to find my favorite things.  Thats pretty much all I do anyways, at least when I'm not working on a new purse or sleeping.  This week my favorites came from a team challenge we did for Etsy Entrepreneurs.  All of today's featured shops/items are from fellow EE team mates.  This was a great exercise in marketing and was beneficial for all who were involved.  All of the items featured here are currently for sale in the featuree's shop.  Make sure to click the shop links and check them out!


Now, on to the good stuff:


The first shop I would like to show off is Christine's Jewelry!  She has some super awesome things, but this red and gold necklace is my favorite.  (hint hint to anyone who may be in the market for a gift to me!)  I just love the color, and the combinations of textures and shapes.  Those green earrings are fab too!


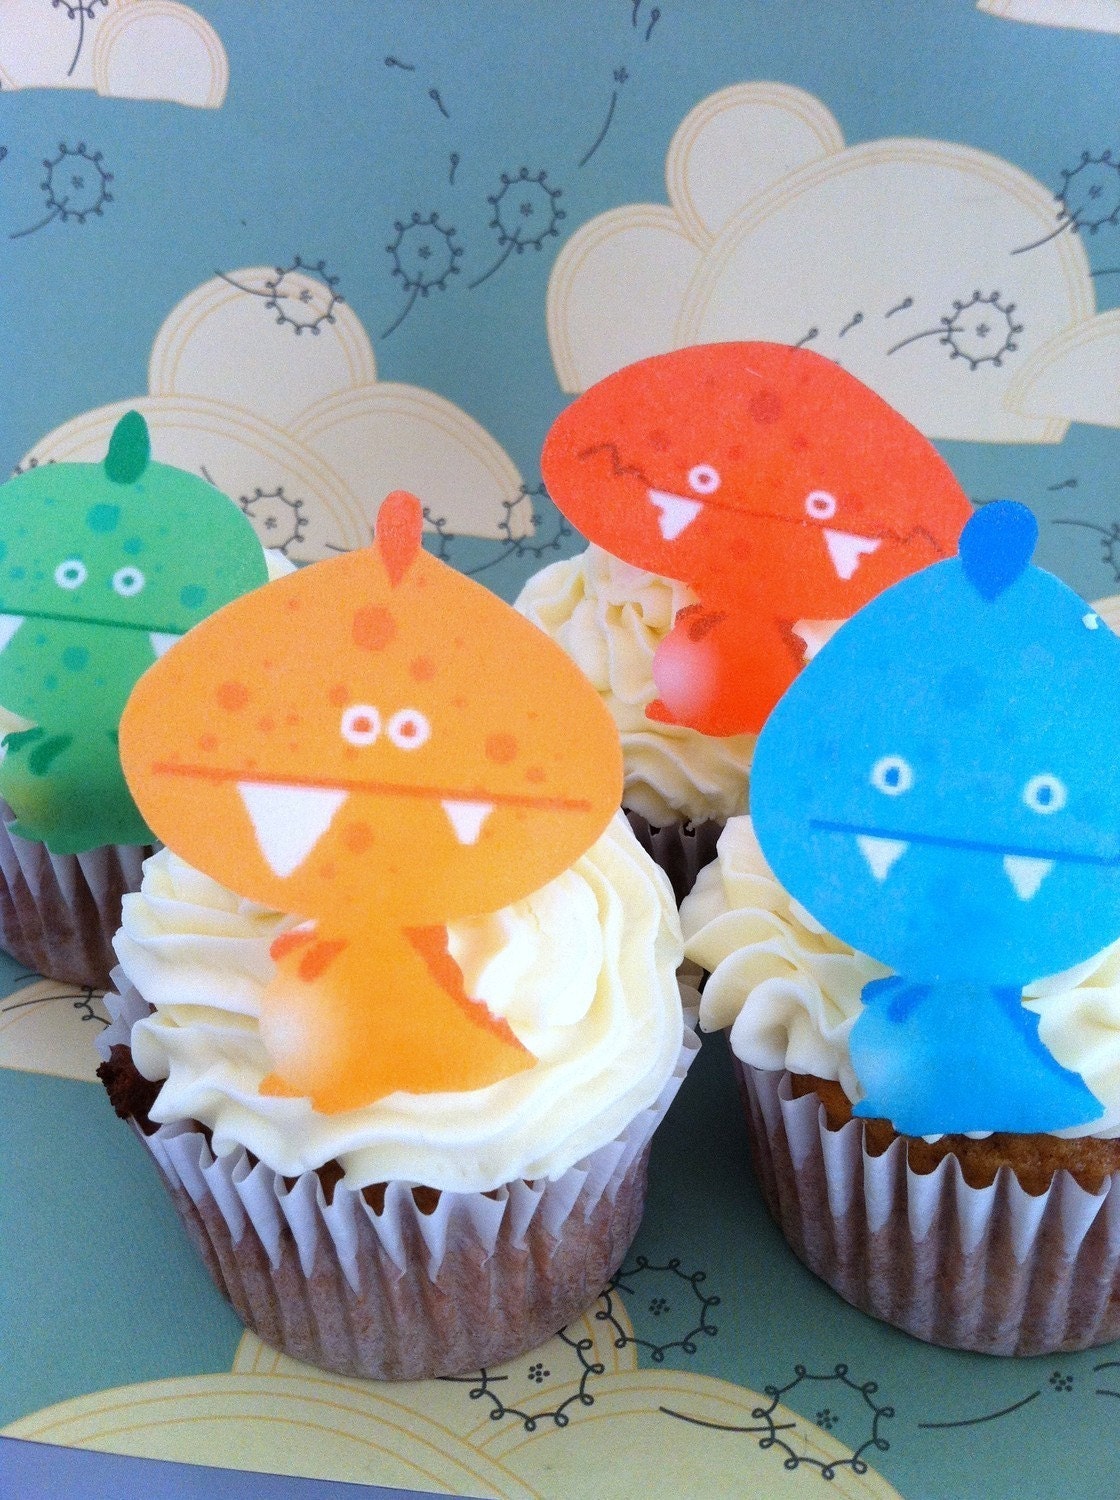
If I hadn't just gotten married, I would totally be planning to use this next shop... Sugar Robot!  They make elegant, edible cake decorations, like these oh so brilliant and life like butterflies!  Aren't they gorgeous?   And those little monsters would be perfect for a kids birthday party.


Next in my line up of featured shops is the lovely Subliminal Beauty.  Her photography is wonderful.  I love that she doesn't stick to just one thing.  She has nature shots, urban shots, close ups, everything.  It was hard to pick just two of her photographs to feature here, but these are my favorites!


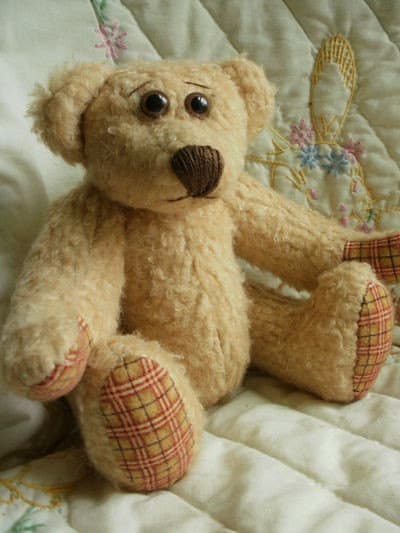
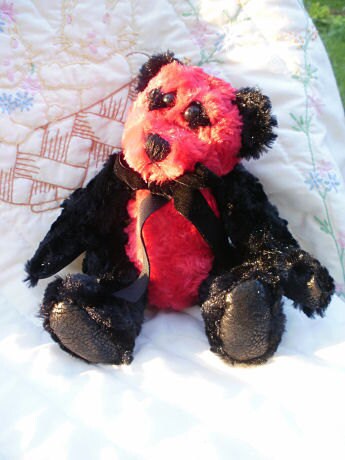
Who doesn't smile when they see a lovable, huggable, classic teddy bear?  Bailey's Bruins has been stitching up bears (and I've seen a bun or two as well) for years.  They would make a great first teddy for any child, and they are all unique!  I just love those little embroidered noses.


Almost done folks, just two more shops to go!

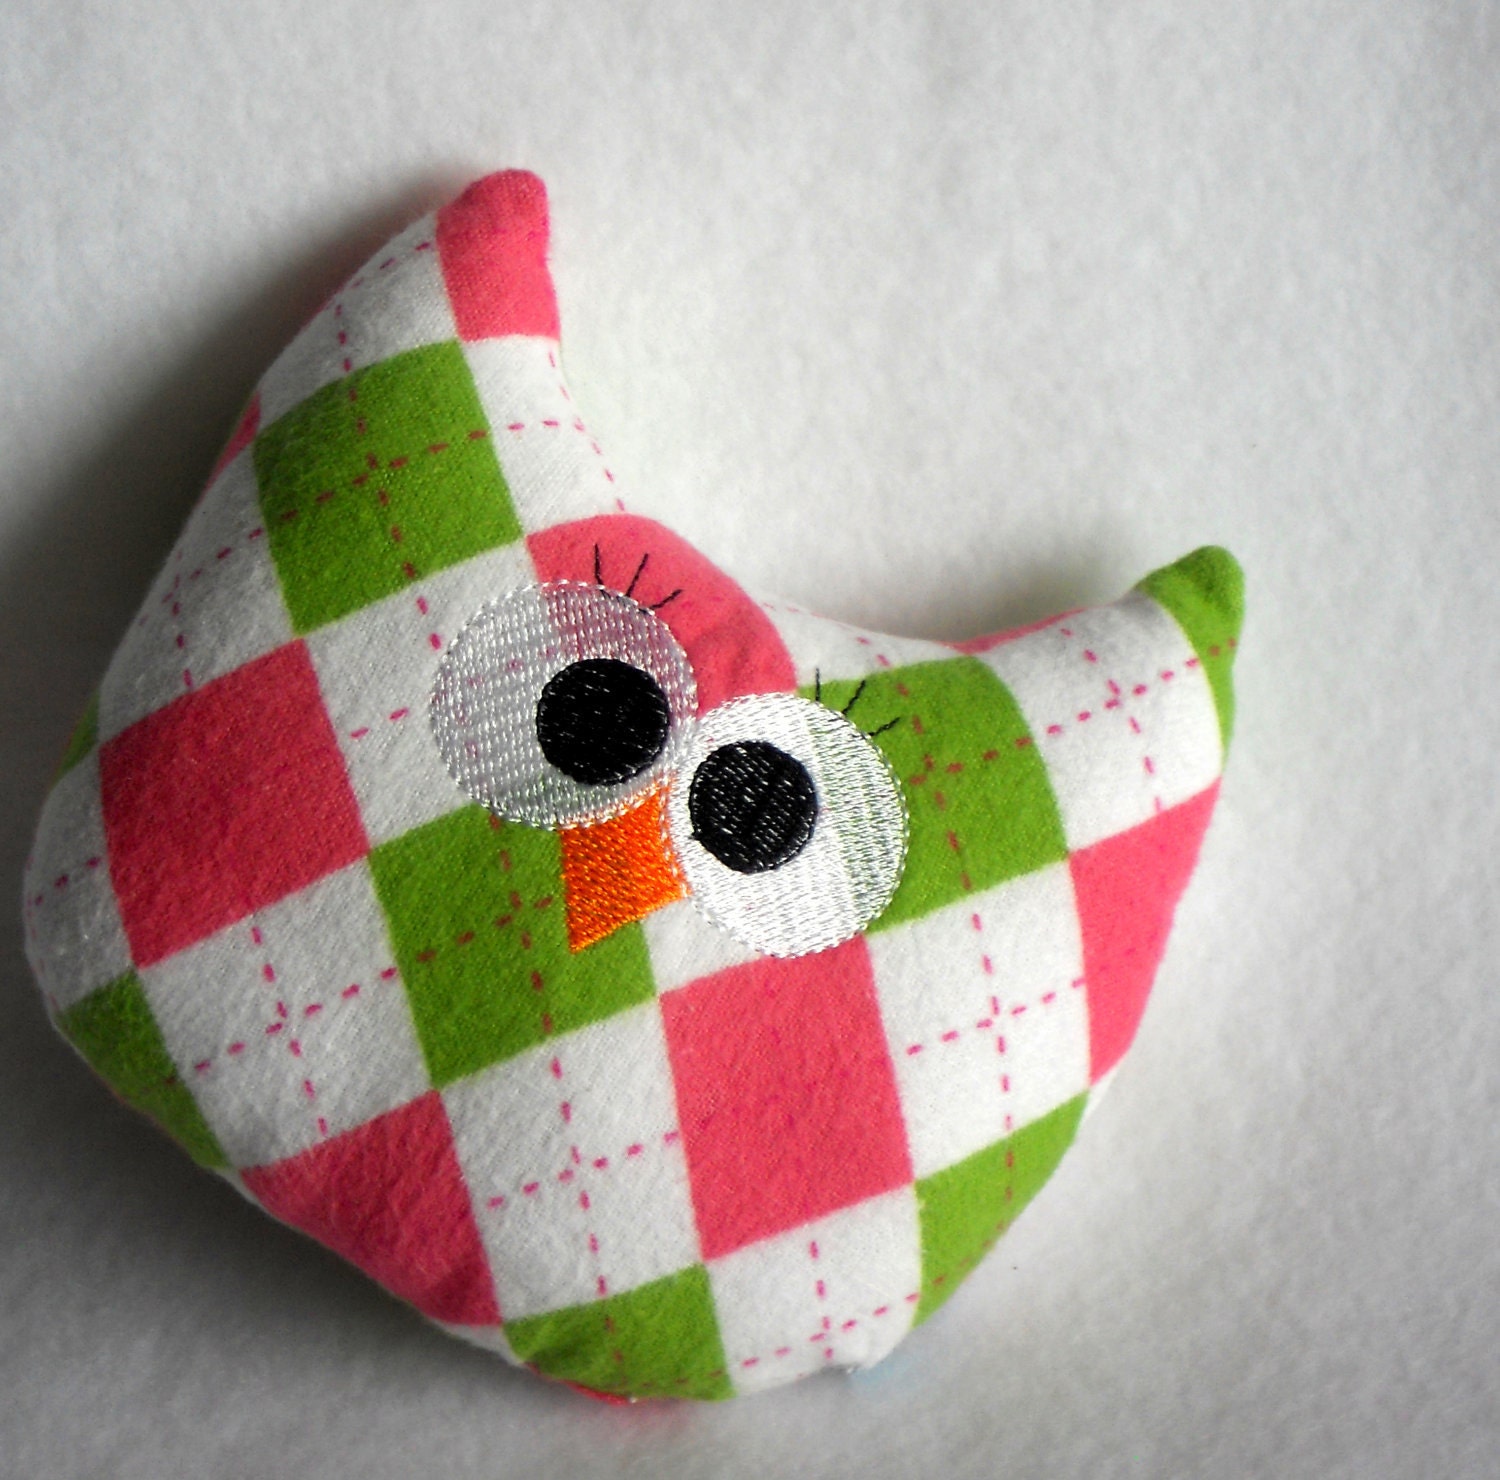
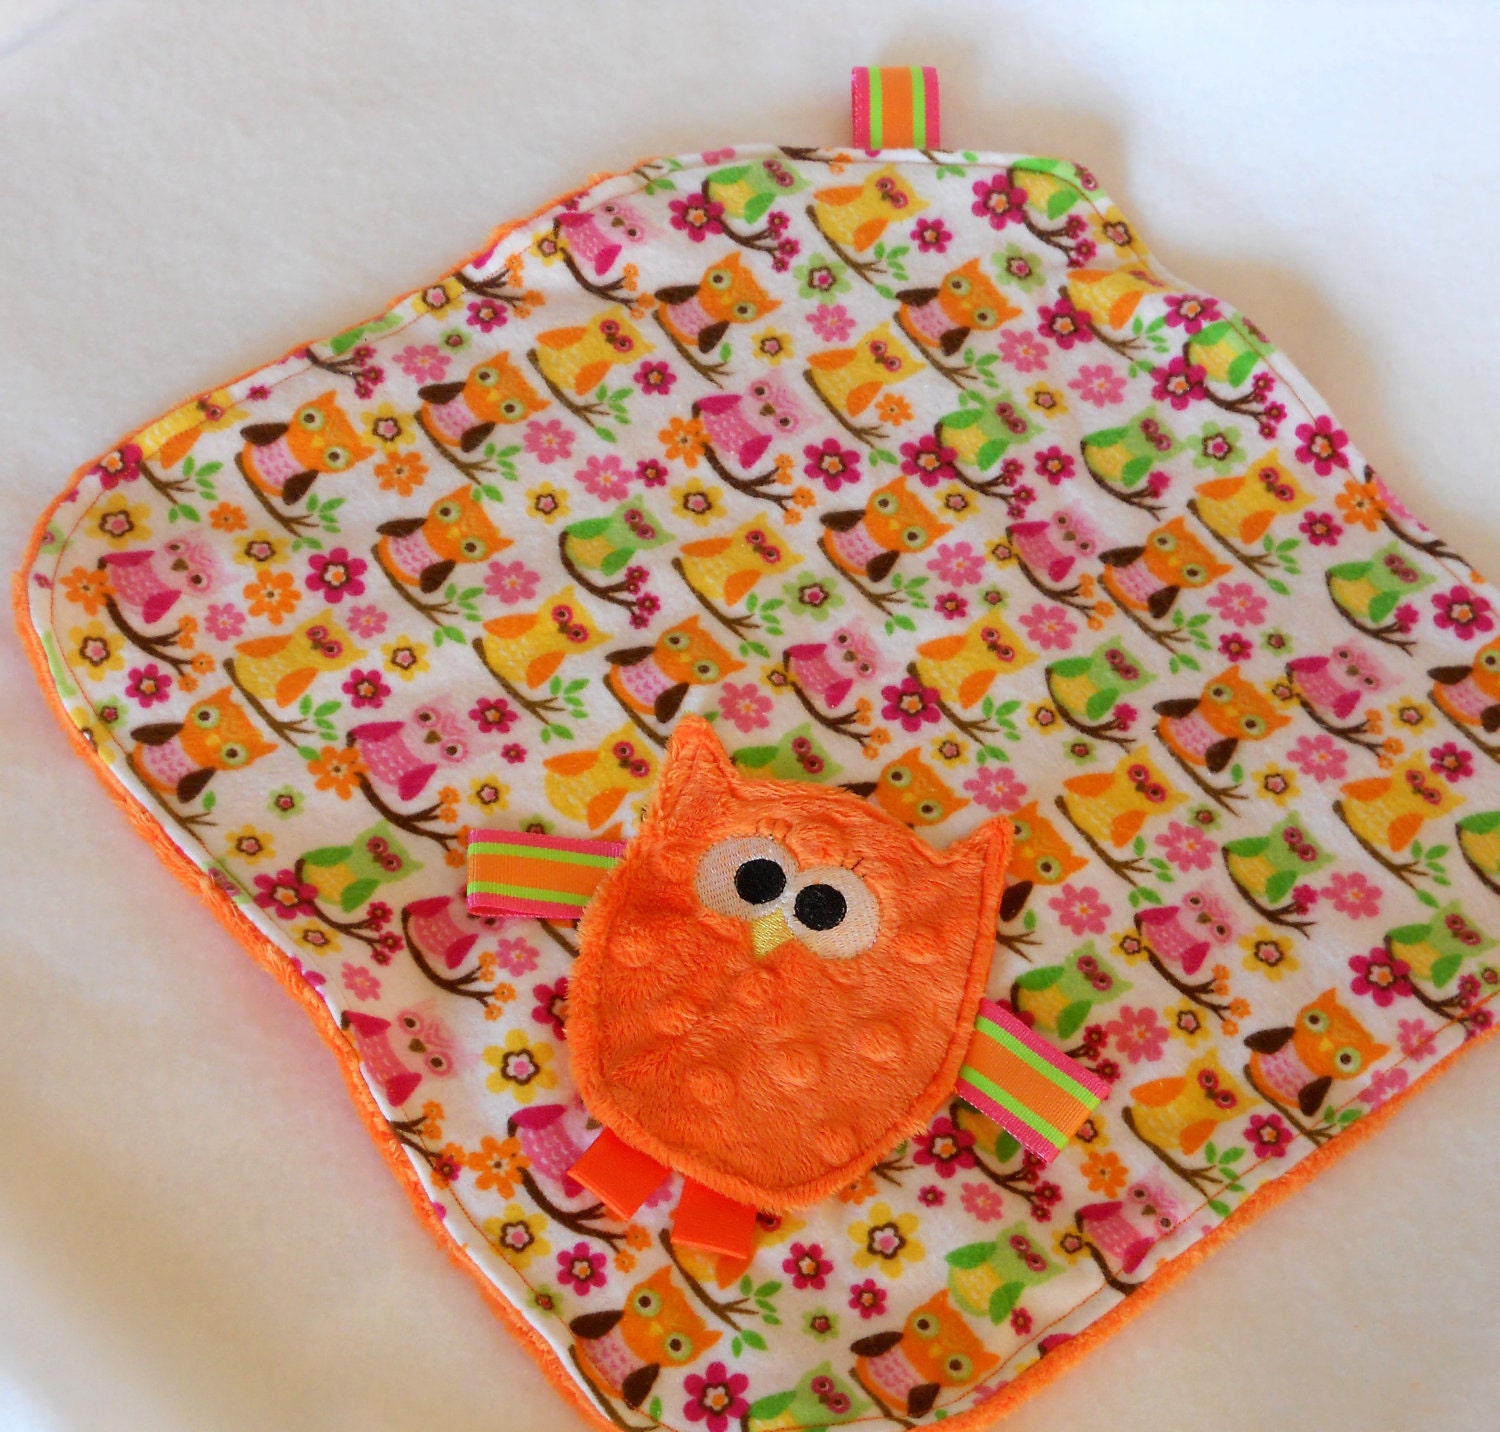
Lil' Bundle of Joy makes all manner of baby things, from bibs to burp clothes, to my personal favorites, little stuffed owls.  If I had a baby, or one near by that has parents who would let me play with it, I would totally get this little owl.  She's just so cute.  Or this cuddly looking blanket.   Adorb! (<-thats short for adorable, for those who may not be up on the lingo.)


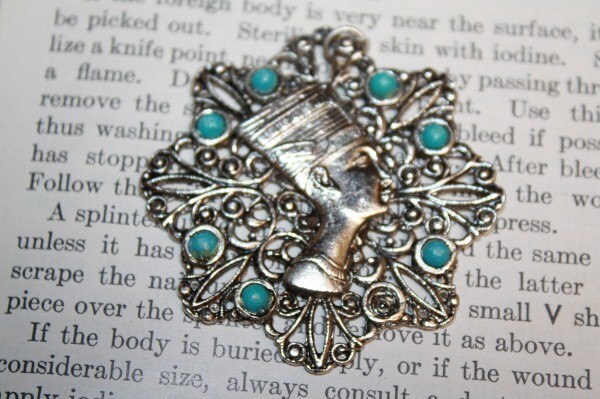
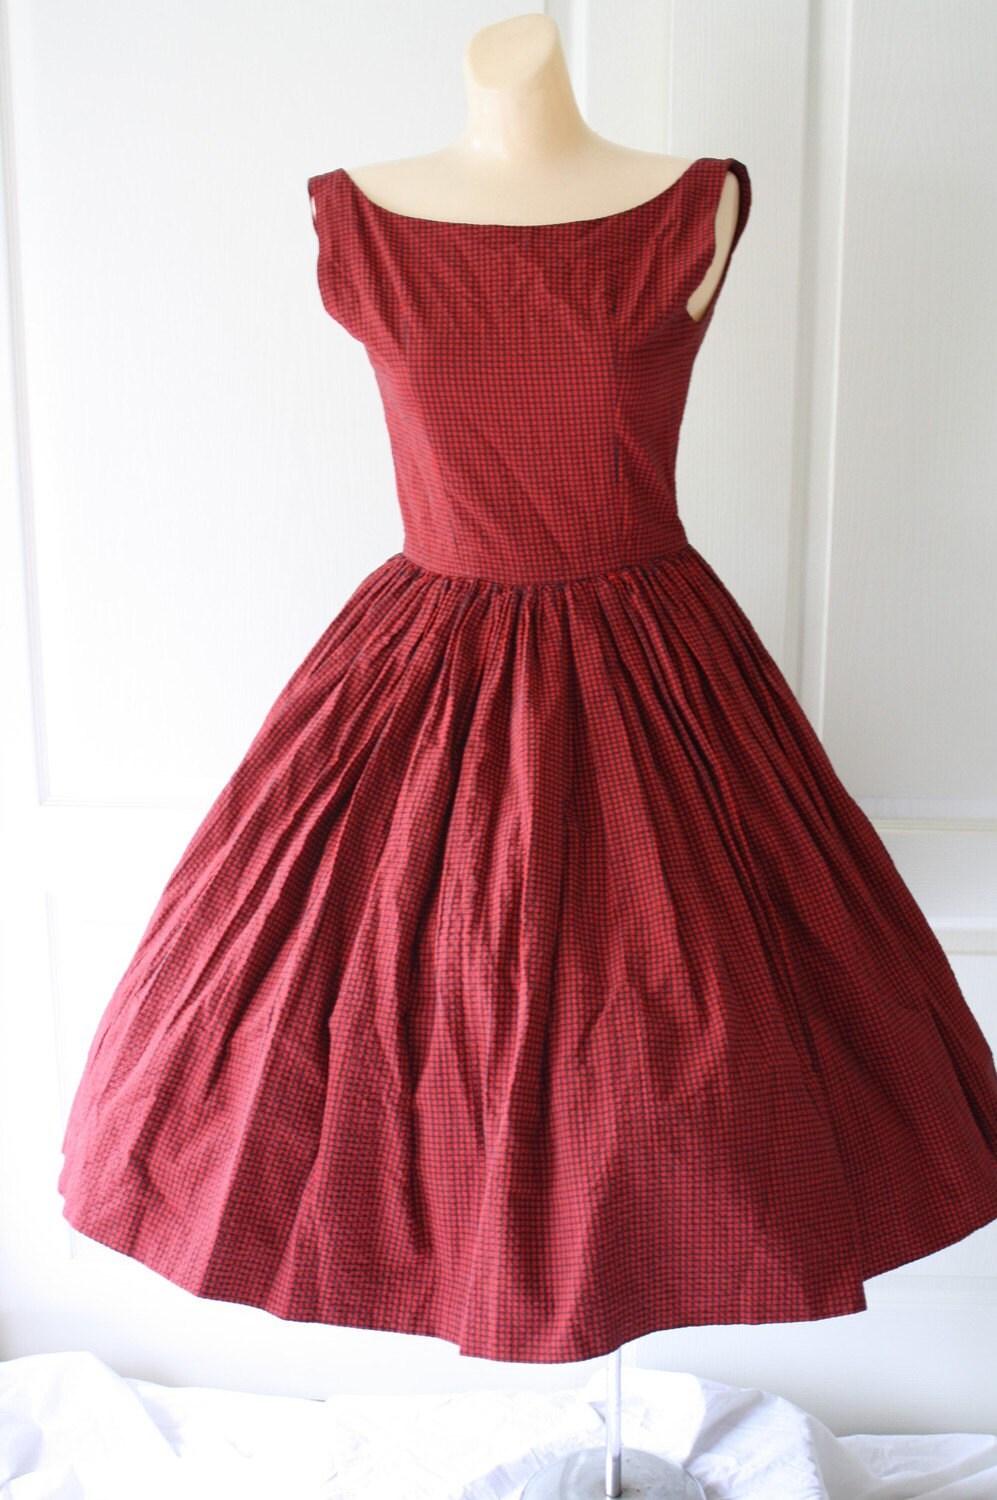
Last, but certainly not least, I have Beguiling Vintage!  As much as I love hand made crafts, I also enjoy the old stuff.  I have to, I have a degree in history.  BV has some truly awesome stuff, from cute 50's dresses to jewelry to kitschy home decor.  Here are a couple of my favorites from her vast and varied stash of vintage goodies:


Annd that concludes the first set of Summer's Sunday Selections!   If you made it all the way to the end, thank you!  And go take around these wonderful shops.  This is just a small sampling of what they have to offer.  


Wednesday, June 8, 2011

Blog Update and Another Cooking Guideline

Blog update first!  I'm going to be rolling out a new weekly post this week:  Summer's Sunday Selections!  I'll be featuring some of my fabulous favorite items from Etsy and around the webs on Sundays.   Now, on to the good stuff!


Whole Wheat- Multigrain crackers

Who doesn’t love good crackers?  They can be simple or complex, and go well with so many things.  But why settle for those store bought ones when a few simple ingredients can give you healthy, preservative free crackers with as little or as much salt and other flavorings as you want?

 I bring you another “cooking guild line,” this time for some multigrain crackers.  These are fantastic and easy to make if you have a grain mill or something like a magic bullet blender.  I have the later.  I started with this simple whole wheat cracker recipe from Allrecipes.com, and modified it to fit the assortment of grains/beans that I had on hand.

I replaced 1 cup of the whole wheat flour with 1/4th cup each of ground barely, cracked wheat, ground lentils, and corn meal.  I also replaced a half of a cup of the all propose flour with soy flour.  The resulting dough was a little sticky, but adding in some more whole wheat flour would probably fix that right up.

Look at that wholesome goodness!
Here’s the modified recipe-
¼ cup lentils
¼ cup barely
¼ cup wheat berries
¼ cup corn meal
¾ cup whole wheat flour
½ cup soy flour
1 cup all purpose flour
1/3 cup oil
1 cup water
½ teaspoon of salt (or to taste)
Spices to taste

   1.     When measuring the lentils, barely and wheat berries, make sure to use generous ¼ cups, as they settle to less once ground.  Combine the lentils, barely, and wheat berries and put them through the grain mill (with this method, you may want to grind the lentils separately with the stone for wet or oily stuff).  If are using a magic bullet, simply combine them and use the grinding blades.  It took me a couple of turns of about 10 seconds to reach a smooth consistency. 
   2.     Mix the resulting flour with the corn meal, whole wheat flour, soy flour, all purpose flour and salt.
   3.     Add the oil, water and any spices you want to include.  I used a ½ tbsp basil, ½ tbsp oregano, and a tbsp of garlic.  Stir until the dough is well mixed.  If its too sticky, add more whole wheat flour.   It should be a fairly dry, almost crumbly dough.
   4.     On a lightly floured surface, roll out the dough.    It should be no more than an 1/8th of an inch thick.  Place the rolled out dough onto an ungreased cookie sheet (or two if you want them really thin).  Line with aluminum foil if you are worried about sticking.  
5. Sprinkle the top with salt, to taste. I also added some sesame seeds to mine.  Using a knife, score the crackers where you want them to break apart once baked.  Don’t cut all of the way through though.
6. Bake for 15-20 minutes at 350 degrees.


You can use any kind of grains or beans that you have on hand to make these crackers.  The next time I make them, I'll probably throw in some oatmeal.

Tada!  Delicious, fresh baked, wholesome crackers.
Here they are, right before going into the oven.  No after shots though, they were gone too fast!

Monday, June 6, 2011

I'm baaaack, and I have vintage silks!


Wow, it has been a long long time I've had the time or motivation to blog.  So sorry I wasn't able to post in so long!  Teaching Algebra II was probably the hardest job I've had in a long time, and took up a lot of my time outside of school and was a general energy vampire.  Its a real challenge to motivate kids who just don't give a rat's butt about math and don't understand how important math skills are, and I'm not just talking about knowing how to rationalize radical expressions and factor polynomials.  I mean the thinking and reasoning skills you gain from math.  Of course it didn't help that they went for 2 weeks without a real teacher.  By the time I got them, they had lost all motivation to do well, and had missed some necessary skills we just didn't have the time to pick up.  But, enough about that... I'm back to blogging and crafting!  I’ll be posting more regularly now that its summer time and I have all of my important business squared away.  So, hello again!
The original collection of silk sleeves.
I’ll keep my first post back short and sweet, and talk about my newest project to use up the kimono fabric I acquired back in early march, and mentioned in my last post.  I got them from Kyoto Kimono, which has great deals on vintage, workable Japanese silks. Each sleeve that I got was about one yard by 14 inches after the seams were ripped.  My first project with the kimono fabric was okay, and I think it would make a great small purse for someone who wants something simple and lovely to carry around.  However, I decided that this wasn’t the best or most efficient use of this awesome material.  I was just having trouble coming up with something better, and became distracted by other fabrics and life in general.
The first project, it can be found on Etsy as well.

I rediscovered the kimono sleeves while I was reorganizing my working area.  I had moved my sewing cabinet to the opposite wall and was switching up my fabrics.  This was really just an excuse to take them all out and look at them, which is a great way to spawn inspiration.  That, and I just enjoy looking at them.  What can I say; I’m a fabricaholic.   

I pulled sleeves out and was ogling them, enjoying their varied textures and weights when the idea came to me.  What if I mixed them a nice sturdy, natural fabric (like the drill I already had a lot of) and made something bigger, with a bit more of a specific use…  I’ve been meaning to try making a laptop bag, and had already experimented with a messenger style bag before.

So dropped what I was doing, leaving a pile of fabrics still on the floor, and I sat down with a piece of blank paper.   I sketched out a simple, squared design in about 10 minutes.  The shape would keep me from having to cut out any curved pattern pieces and make a clean, geometric bag.  I liked what I came up right away, and just needed to pick which sleeve I wanted to use.  I decided on one I did because it looked simple from far away, but had a beautiful textured look up close.  Aaaand!  Here are the results:


So, the moral of my story is:  Spring cleaning can be an awesome source of new ideas from old inspirations.

p.s. If you want this bag, it can be yours!  Check it out on Etsy and give it some love.

Saturday, March 12, 2011

Its been too long...

Oh my, its been ten days since I last posted!  This is just a quick update to say that I'm not blogdead.  I've just been super busy, but more about that later.


First, a quick update about the market that I visited last friday.  It was more of a resellers/flea market, that kind of reminded me of the flea markets in Mexico.  I didn't see any other handmade type sellers, and very few food sellers/farmers market type people.  It didn't look like it would be worth it for me.   I may check out the swap meet that will be going on in June at the Yuma Civic Center since its only $10 for a space and they provide tables.  Its also indoors, where as the other market was outside.


As far as why I've been so busy...  The school district decided to cut my assignment as a biology teacher short and move me to another school to teach Algebra.  See, I was supposed to be filling in for biology teacher who was on maternity leave till mid April, but I got a call at the end of the day on Tuesday that they wanted me to start the next day at another school.  Needless to say, I was in shock.  I was quite comfortable as a biology teacher, the kids were good, I had daily lesson plans and everything was set up nicely for me.  The only downside was the ending date, and the fact that we had to leave a little early in the mornings so my husband could drop me off.  The new assignment... These kids haven't had a real teacher in 2 weeks, they're behind, there are no lesson plans, and I haven't had algebra II since I was in 9th grade.  There is an upside though, since I will have this job till the end of the school year, and its at the same school that my husband teaches at.  I also worked there last year, so I'm familiar with it.


So, between getting my bearings in the new assignment and sleeping I have had trouble keeping up with everything else.  I hope to have another post up in the next couple days to talk about my new vintage kimono fabric and my plans for it!

Wednesday, March 2, 2011

Cooking Guideline (Recipe) Time!

As mentioned in my profile, I am a bit of a foodie.  Not the crazy, talks all the time about food and goes to extraordinary lengths to either source their foods or try new and different things, but the I friggin love food and trying new and different things.  I don't really go out of my way for it, but if the restaurant offers alligator tail etouffee or fried pigs ear in black bean sauce with wood ear, then yeah, I'm game for trying it.  


I also love to cook!   However, I have issues with recipes.  I like to look at them, and imagine how they would taste, but I rarely follow them 100%.  When I cook, I consider recipes to be more of a... guide line.  And often times, I prefere the meals that come about by a little fly-by-the-seat-of-your-pants innovation.  Making it up as you go.   I start with an idea, like barbecue pork, and go from there.  This is what at least 80% of my daily cooking is.   Most of the time its pretty good, but some times I hit on a real winner.  And today, I would like to share one of those winners.  I'm not going to call it a recipe, but a guideline.  All measurements are approximate.


Lemon Pepper Honey Skillet BBQ
1 lb pork (or chicken, or beef if you want)
2 tbsp ketchup
1 tbsp worcestershire sauce
2 tbsp lemon juice
2 tbsp honey (I used raw local honey, lets just say I have a 12lb jar...)
2 tsp rice vinegar (I imagine apple cider would work just as well, add more if you want more tang)
black pepper to taste
1 tbsp minced garlic
Olive oil


1. Cut the pork in to 1/4 strips.
2. Heat your preferred amount of oil in a skillet on medium heat.
3. Toss in your garlic and stir till browned.
4. Add pork.  I usually wait till one side is browned before adding the other ingredients.
5. Add the worcestershire sauce, lemon juice and rice vinegar (pre mix them and add all at once if you like)
6. Add the ketchup.
7. Add the honey.  This is added last to give the other ingredients time to soak into the pork and some of the liquid to cook off.
8. Cook on medium until the liquid is a thick, saucy consistency.  When it cools to eating temperature the honey will give a nice, slightly crispy texture.
9. Add black pepper to taste.


And wha-la!  Yummy, quick bbq in about 15 minutes.
This is my hubby's plate... he's a meat and potatoes guy.
This is my plate.  I'm a bit more... out there shall we say.  I'm having mine with brown rice and kimchee!

New Things and Random Musings


Hello All! 

I believe I’ve gotten over my creative rut so to speak and am feeling much more up to muster.  I've two new things since my last post : A butterfly tote bag, and a new style of bag made with the same houndstooth that I used in my skirt and hat from this post.

The butterfly tote is just another, less swashbuckling, more flittery version of my pirate tote.  They are a bit different in size as well.  The butterfly tote is wider and shorter than the pirate tote, and for some reason the hand applique took me  about 2.5 days to finish.  This was probably because I was working on it during my unmotivated/ uninspired slump last week.  However, I really love that was able to free hand draw the shape of the butterfly.  I'm usually pretty bad at that kind of thing, but it really turned out well!  I think it has kind of a punky/goth vibe, with the blacks and hot pinks.  Click here if you want to see the listing on Etsy!


The other thing I made was different style of purse I've tried before, and I think it turned out as well.  I really like the addition of the running stitch across the top of the bag.  It was an after thought, because I ran into an issue of the edge not laying flat even after pressing.  So, I decided to do a simple running stitch across the top for more of a pop.  This bag is also larger than most of the other purse style bags I've made in the past, and I think it really works for this style.  This is also the first time I've worked with piping, which was a pain on the curvy parts.  If you're interested in buying this one, it can be found here.


Now, on to the random musings part of the post:


Still no sales in the Etsy department, but I’ve started looking into the local market.  I’ve found one location that I’ll be scouting out this weekend, to see if its worth my time and money.  It’s large semi outdoor weekly farmer’s market/flea market.  It costs $20 a day for a covered space and is open from 9:00am till 4:00 pm Thursdays to Sundays.  If I decide to do it, I have to figure out what I have that I can  set up with, like tables and display type stuff.  But I have plenty of time to think about that, as I’m no where near ready for it.  I need to build up more stock to make it potentially worthwhile to go.  I’m thinking about making some smaller items, like small purses and zipper coin pouches and small stuffed things like the Happy Goat.  I have an idea for a similar style bunny already in the works.  If anything, it gives me a chance to hand out business cards.

I feel like I need to speed up my sewing process a little as well.  I’m only making about one item per 2-3 days, but it’s hard to find time between teaching, sleeping and marketing/networking to actually work on making things.  

It’s also a little discouraging that people look at my items and comment about how cute they are and how original they are, but I’ve had no purchases, beyond two companion cubes quite a while ago.  I know that a lot of my stuff is fairly unique and doesn’t necessarily have universal appeal, so finding my niche in the market is hard.  I do know that sales have been slim lately, due to the economic state and timing, so I’m hopeful that something will move soon.  I’m also updating my Etsy listings and hope to find a solution to my lighting/picture quality issues soon.  Our apartment gets about 10 minutes of decent sunlight every morning and that’s it.  

But enough of my random musings... Its time to create!  Until next post: Good bye!